This topic describes the Capsule Snapshot section, how to create a Capsule Snapshot, and its other features.
The Capsule Snapshot page allows you to create and manage snapshots of all Capsule folders and Capsules of the Platform on which the Capsule Snapshot action is performed. A Snapshot is essentially a backup of all Capsule folders and Capsules of a Platform. You can use Snapshots to create a Capsule Package in order to transport the Capsule folder structure and content from one Platform to another.
To access the Capsule Snapshot section, access the System Administration area of the desired Platform and click on the Capsule Snapshot tile to open the Capsule Snapshot page.
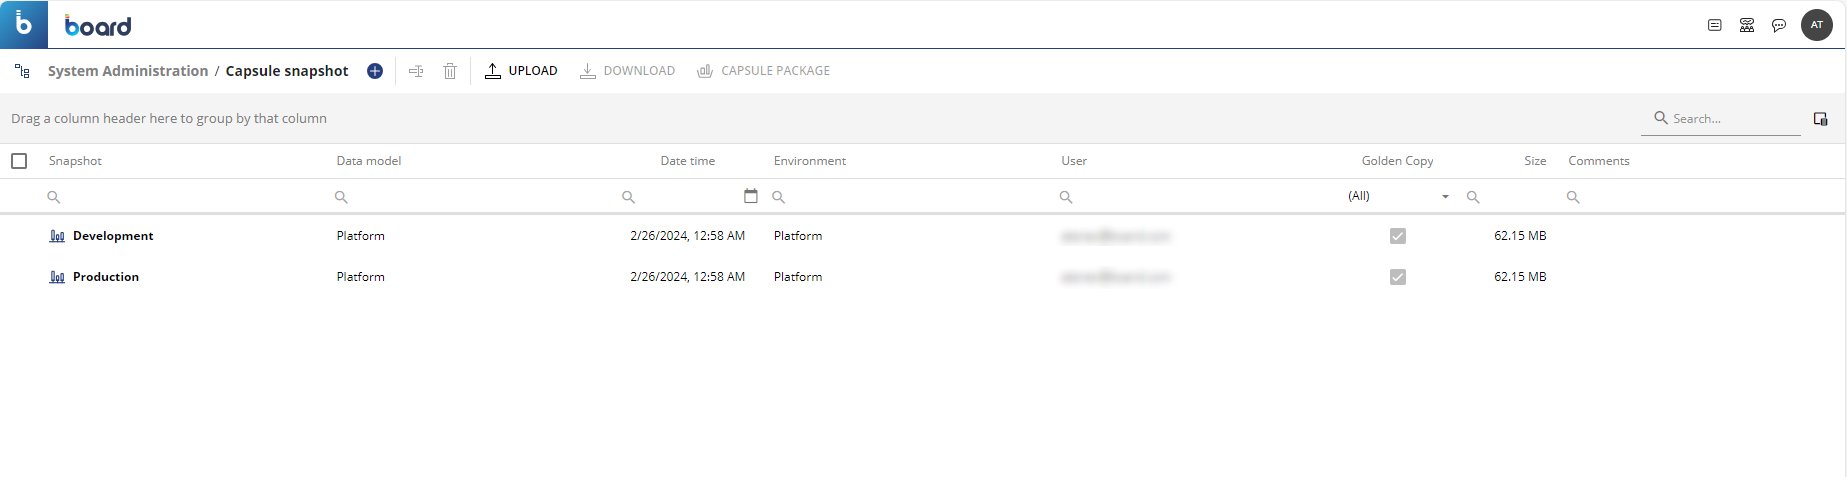
In the Capsule Snapshot page, you can see all existing snapshots and their main information: the table is sortable and searchable using the interactive header fields. You can also show or hide columns to your liking by clicking the Column chooser button in the upper right corner of the table.
The table contains the following information:
Snapshot. This column displays the name of each Capsule snapshot.
Date time. This column displays the date and time of the creation of each Capsule snapshot, in the following format: DD/MM/YYYY, HH:SS.
Environment. This column displays the name of the Platform environment where each Capsule snapshot was created (i.e. "Production" or "Development" etc.).
Golden copy. This column displays if a snapshot has been flagged as a Golden copy or not, which prevents the Capsule snapshot from being automatically deleted.
User. This column displays the Account name of the user that created each Capsule snapshot.
Comments. This column displays additional comments on each Capsule snapshot. You can click on the desired column field to edit a comment.
Size. This column displays the total storage space in Megabytes that each Capsule snapshot occupies on the Platform machine.
Creating a Capsule Snapshot
To create a Capsule Snapshot, proceed as follows:
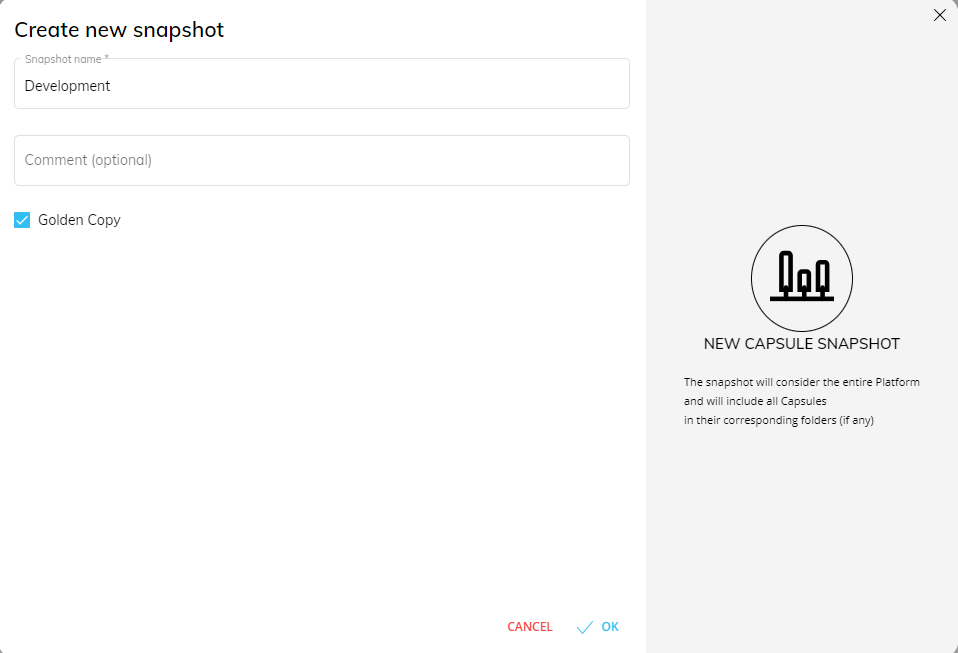
From the Capsule Snapshot section of the desired Platform, click on the blue plus button
 next to "Capsule Snapshot" to open the "Create new snapshot" configuration popup window
Enter the name of the Snapshot in the "Snapshot name" field.
Enter your desired note or comment in the "Comment" field (optional).
(Optional) Enable the "Golden copy" option to prevent the snapshot from being deleted automatically when the storage space limit is reached. This is also useful when you want to pin a backup snapshot that you can easily identify in case you want to perform a rollback.
Click on "OK" to save the snapshot.
The newly created Snapshot contains the full Capsule folder structure and content of the current Platform.
There is a storage space limit. Once it is reached and you try to create a new snapshot, Board will warn you and ask if you want to automatically delete the oldest snapshots to free up the necessary space for the new snapshot. Snapshots that have the "Golden copy" option enabled are excluded from the automatic deletion.
The occupied storage space displayed at the bottom left of the window includes the sum of the storage space occupied by both Capsule Snapshots and Capsule Packages.
Managing a Capsule Snapshot
The Capsule Snapshot page allows you to perform the following management tasks on existing Capsule Snapshots:
Edit a Capsule Snapshot
Rename a Capsule Snapshot
Remove a Capsule Snapshot
Download a Capsule Snapshot to your local computer
Upload a Capsule Snapshot to the Platform you are working on
Create a Capsule Package
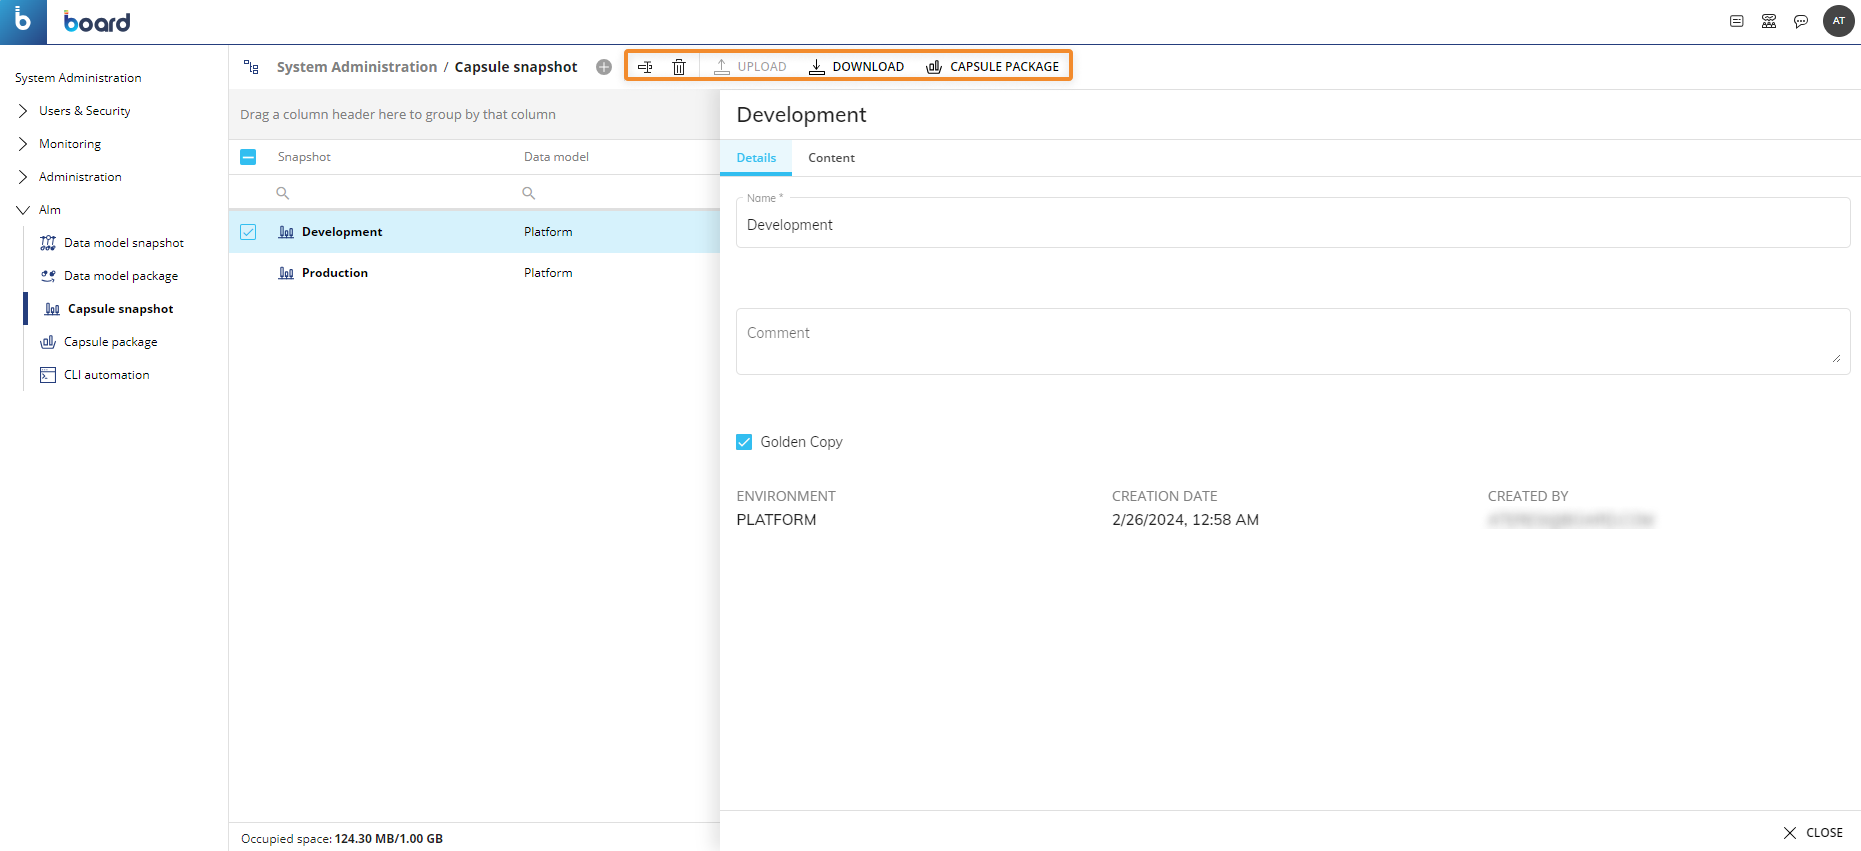
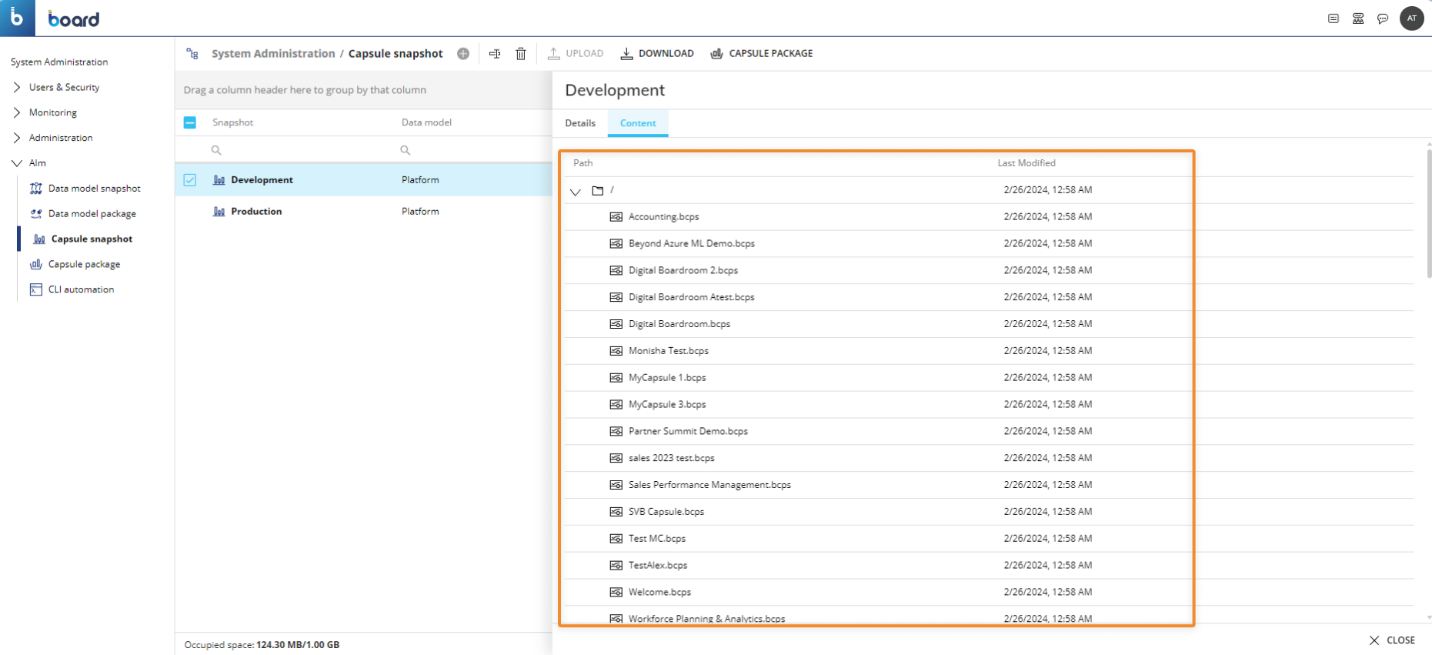
To edit a Capsule Snapshot, select it to open the snapshot configuration panel and modify the desired options explained in the steps in the Capsule Snapshot creation process above. Under the "Content" menu, the Snapshot configuration panel displays all the Capsules, Capsule folders, and their hierarchy that the selected Snapshot contains.
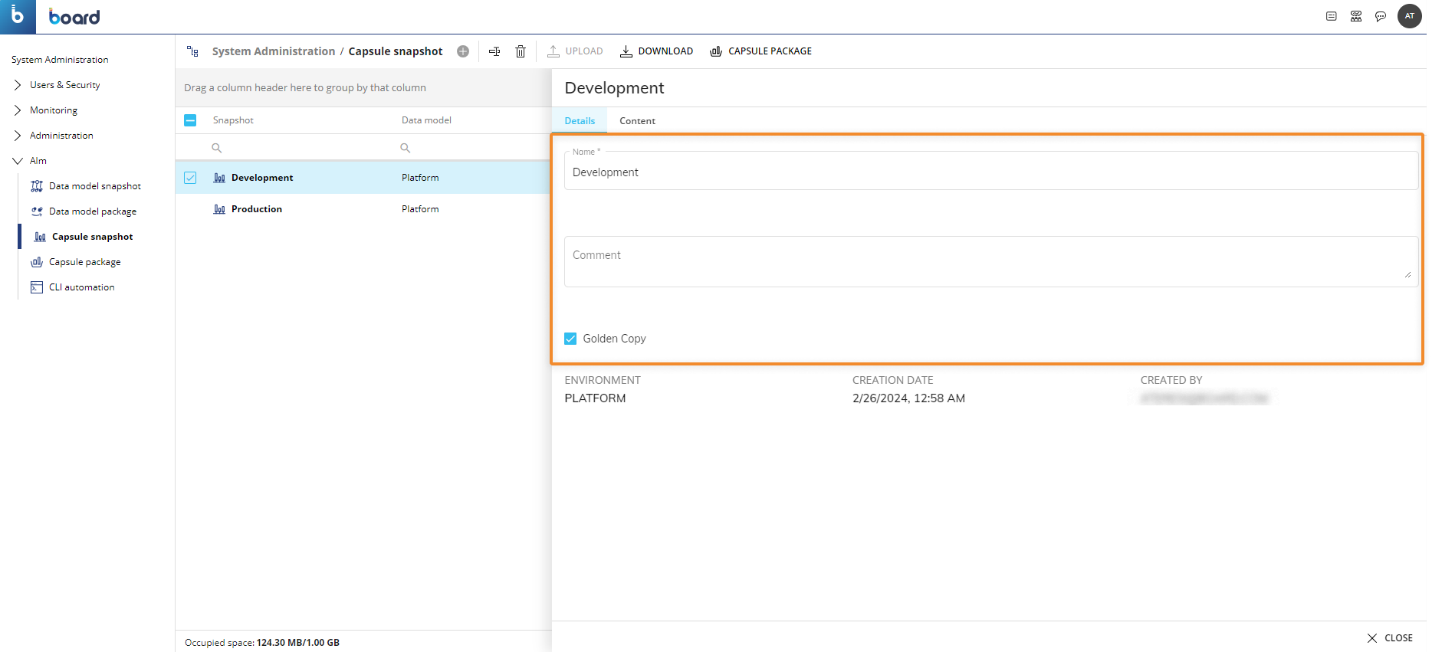
To rename a Capsule Snapshot, select it and click on the rename icon  . A popup window will appear where you can rename the Snapshot and click "OK" to save it.
To delete a Capsule Snapshot, select the desired ones and click on the trash icon.
To upload Capsule Snapshots, click on the "UPLOAD" button and choose the .zip file containing the desired Snapshots.
To download Capsule Snapshots, select the desired ones and click on the "DOWNLOAD" button. A .zip file containing the selected Snapshots will be downloaded to your local machine.
To create a Capsule Package, select the two desired snapshots and click on the "CAPSULE PACKAGE" button to open the Capsule Package configuration panel. See the Create a Capsule Package section to learn how to create a Capsule Package.