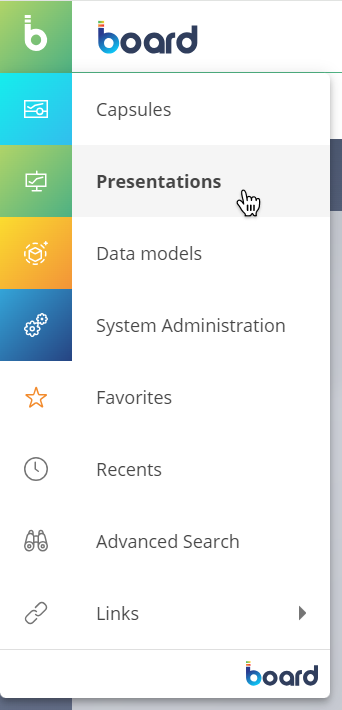
To enter the Presentations section, click on "Presentations" in Board's Main Menu. This action opens the Presentations homepage, where the user navigates and accesses personal or shared Presentations. The small square in the top left corner of the page turns green to indicate the user is on the Presentations homepage.
Other users cannot see a user's Presentations unless that user shares it with them.
The Presentations homepage provides common navigation elements used in the entire Board Platform, such as tiles and the Top Menu. See Board workspace for more details.
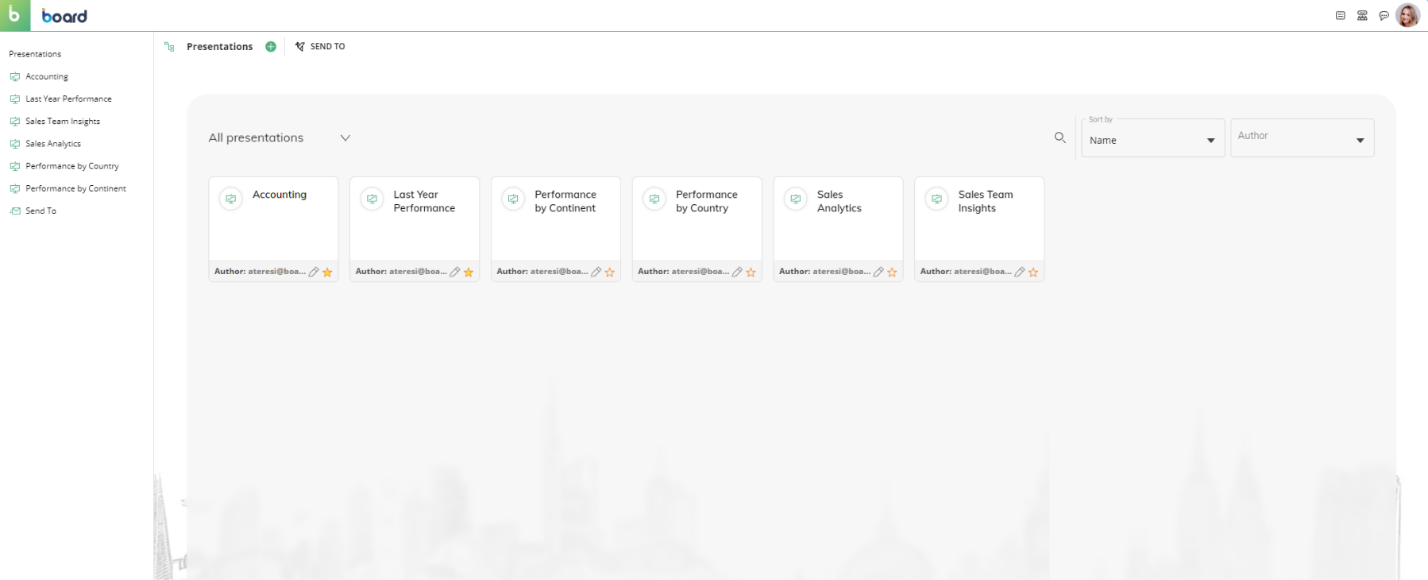
Tiles
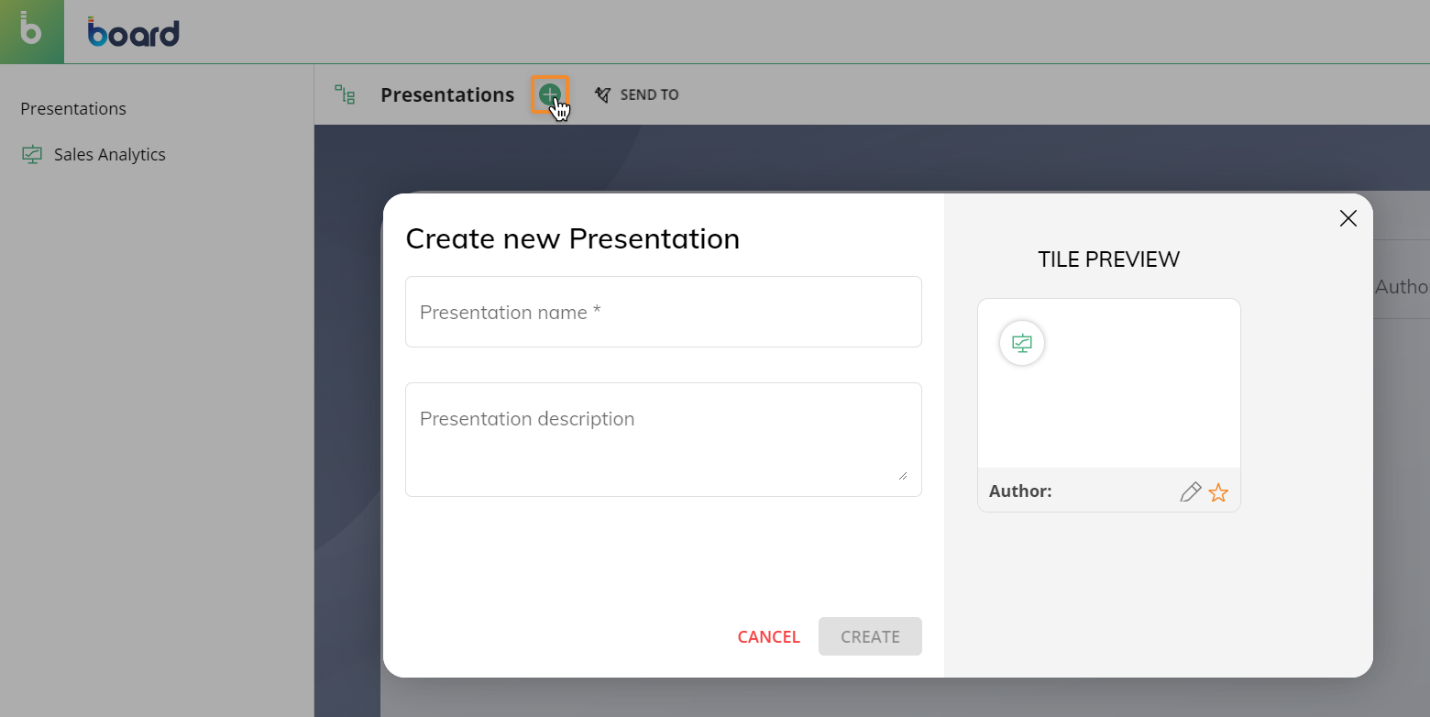
Tiles in the "Presentations" section represent Presentations: click on a tile to access the desired Presentation.
The author of each Presentation is always shown at the bottom of each tile.
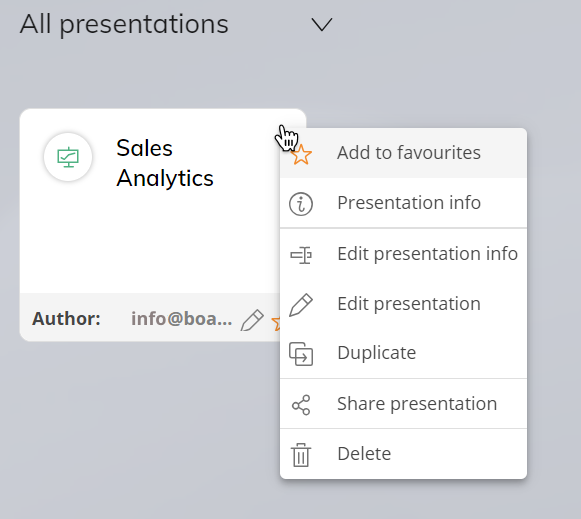
Right click over the tile or click on the 3-dot menu  in the upper right corner of a Presentation tile to perform the following actions:
Add/Remove the Presentation from favorites. This option adds the Presentation to the user’s favorites. The user navigates their favorite Presentations and Capsules from the Main Menu.
See the Presentation info. This option shows the name and description of the Presentation.
Edit the Presentation. This option opens the first Slide of the Presentation in Edit Mode (Presentation editor).
Duplicate the Presentation with a new title. This option duplicates the current Presentation.
Share the Presentation. This option opens a configuration window, where the user can choose who to share the Presentation with. See Exporting and sharing a Presentation for more details.
Delete. Deletes the Presentation.
The "New" tile allows the user to create a new Presentation.
Send To
Planner view
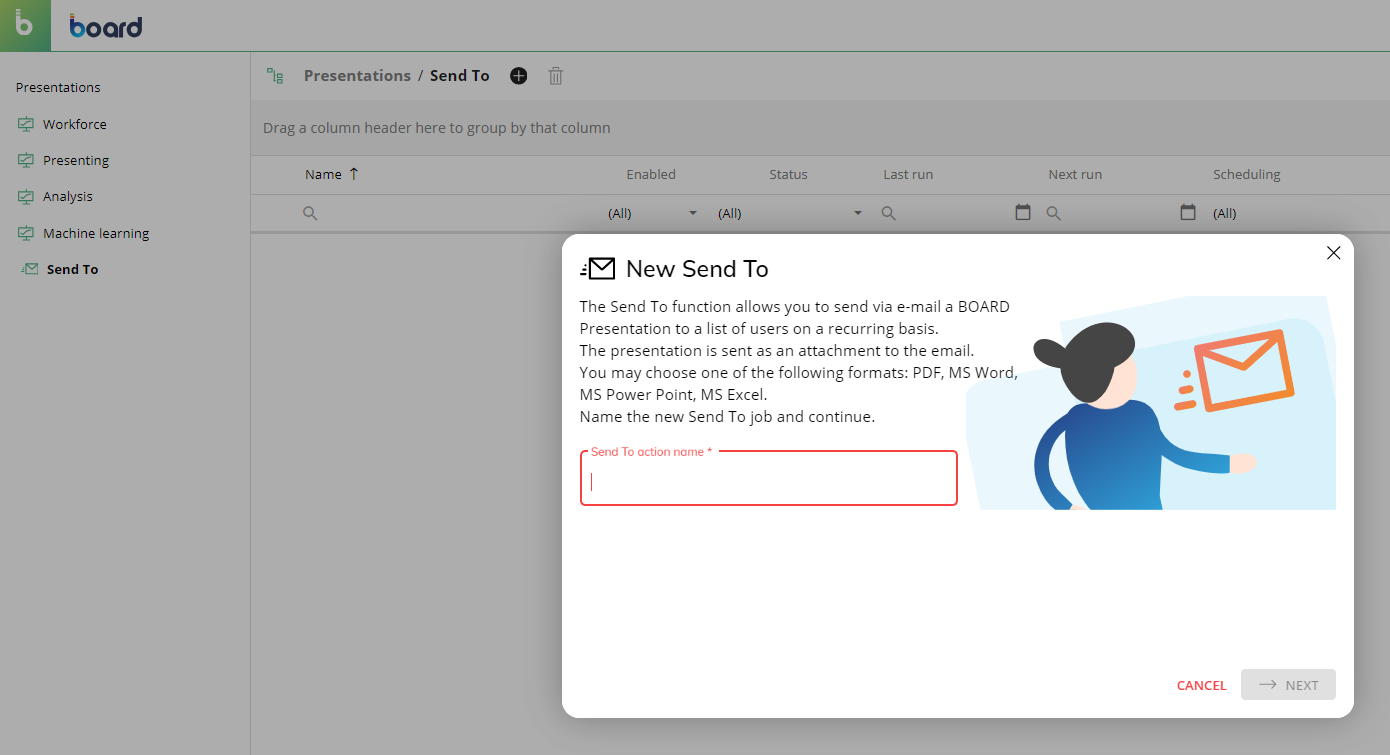
The "Send To" feature sends a Presentation to one or multiple Board users via email. The user creates as many Send To jobs as needed, each with its own recipient list, configuration, and scheduling options.
A configuration wizard guides the user through the creation of each new job: for example, to choose the attached Presentation format (PDF, MS Word, MS Excel, MS PowerPoint), adjust the sending scheduling, the e-mail text, and more. See Exporting a Presentation for more details.
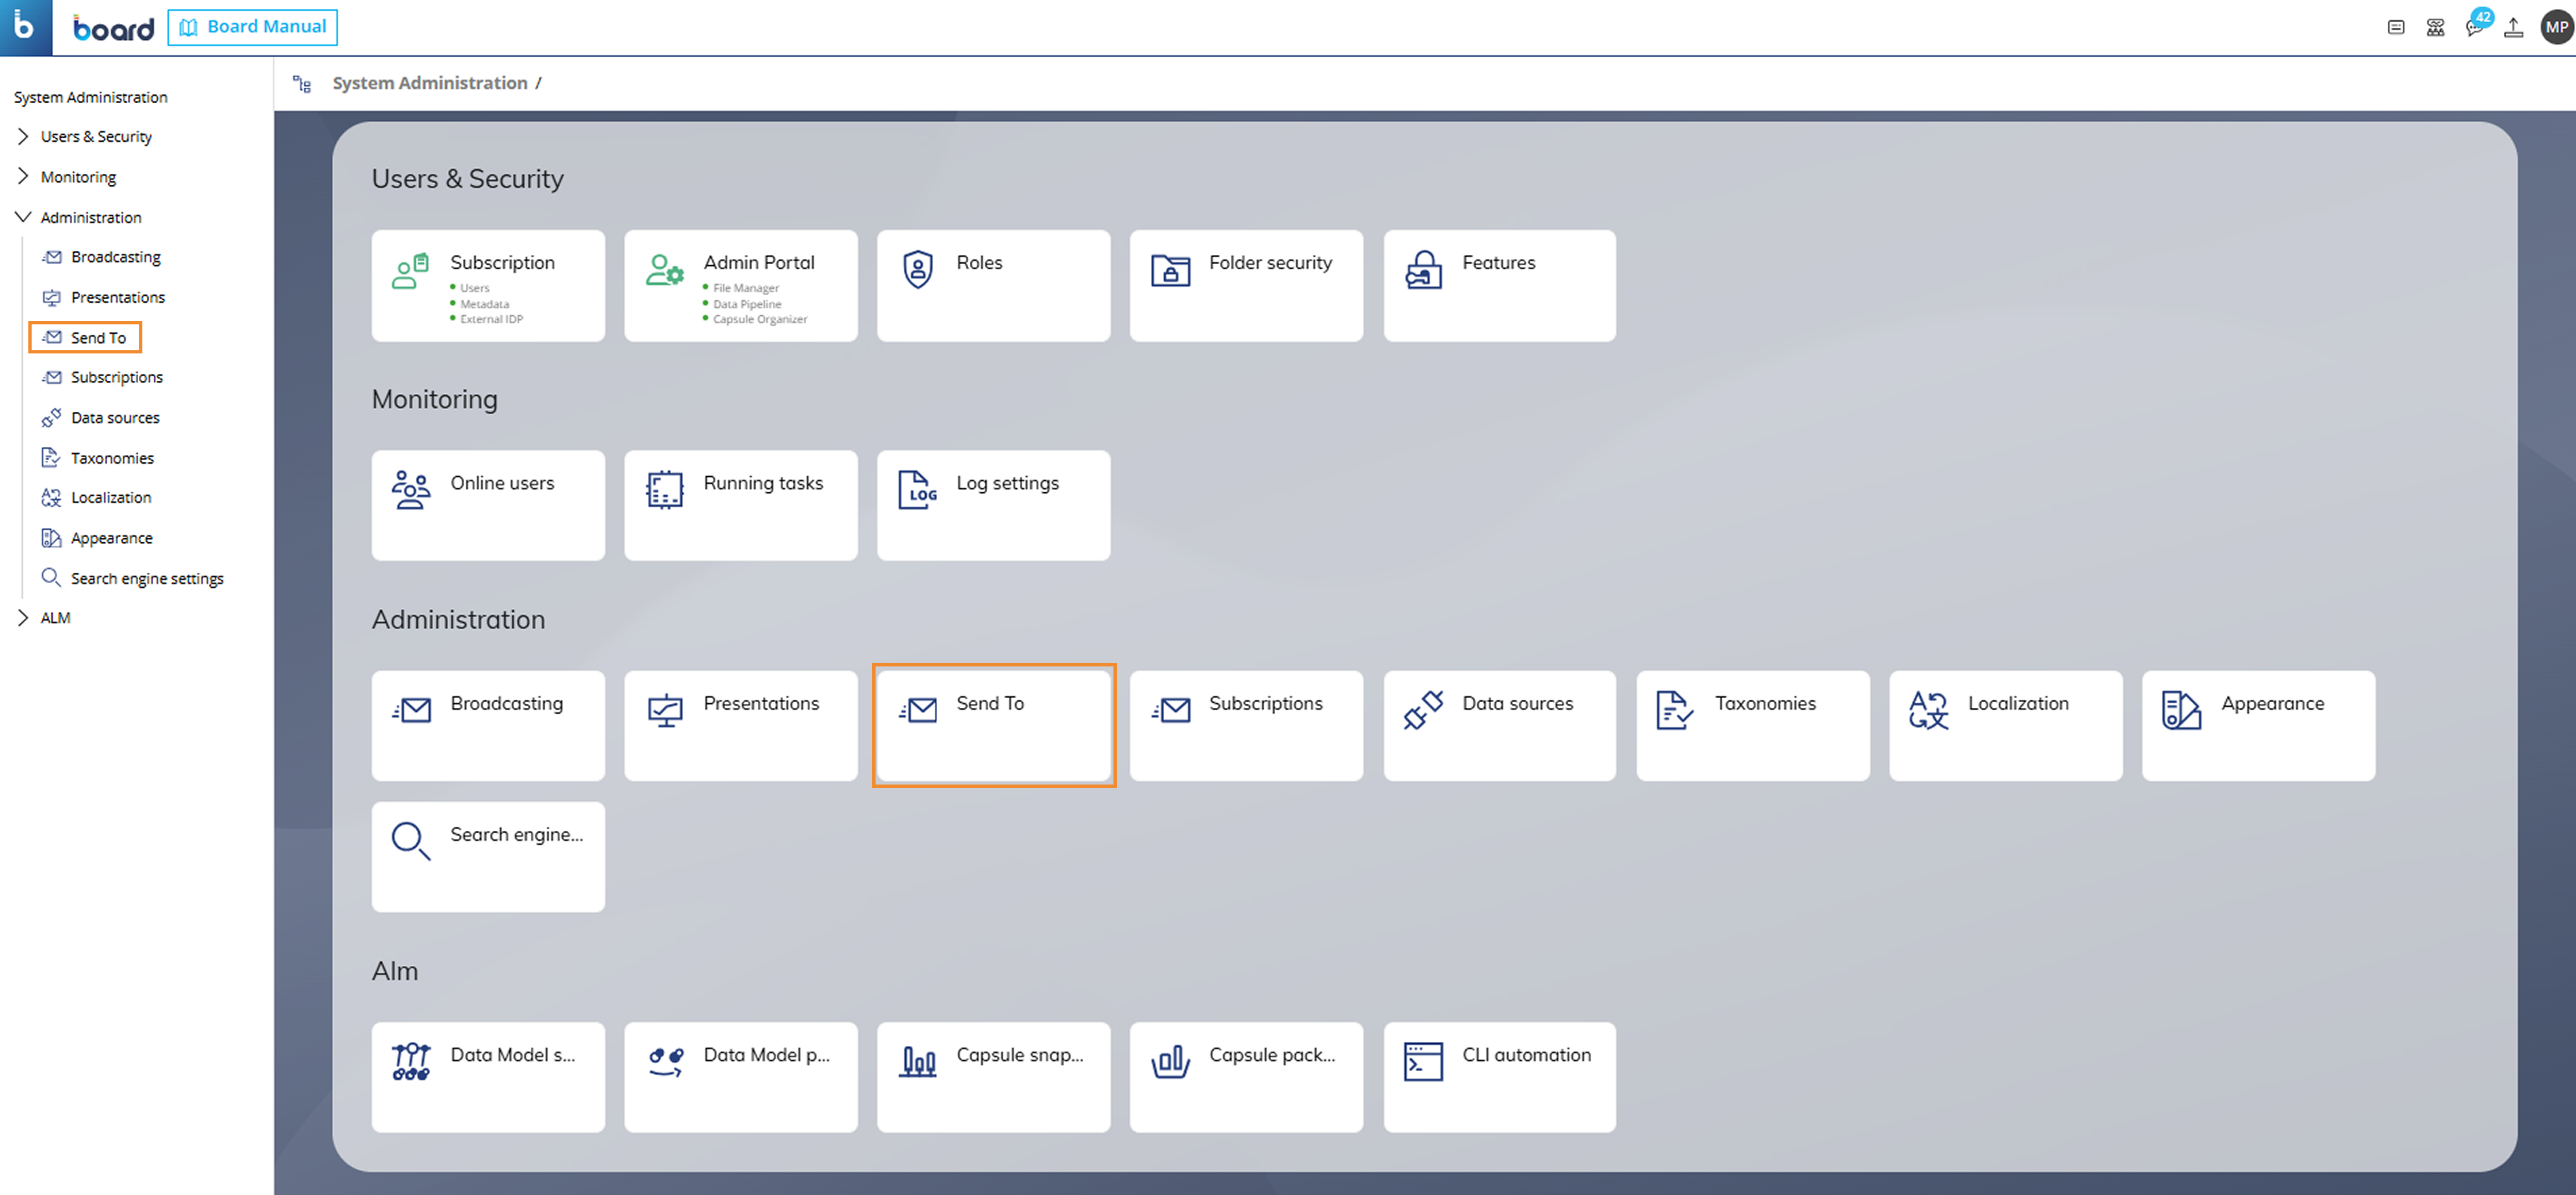
Administrator view
The Send To feature is also accessible from the System Administration section when it is available to System Administrators.
For more details on this capability, refer to the Send To documentation.