The Dynawrite Object can be used on a Screen with the sole purpose of displaying custom text, images, or a value/string from a Cube. Therefore, it doesn't offer any interactive features.
The Dynawrite Object becomes interactive only if it is configured to accept manual data entry. If that's the case, your mouse pointer will change when you hover over the Object area to indicate that you're allowed to enter custom text. To do so, click on the Object area and type your desired text as needed.
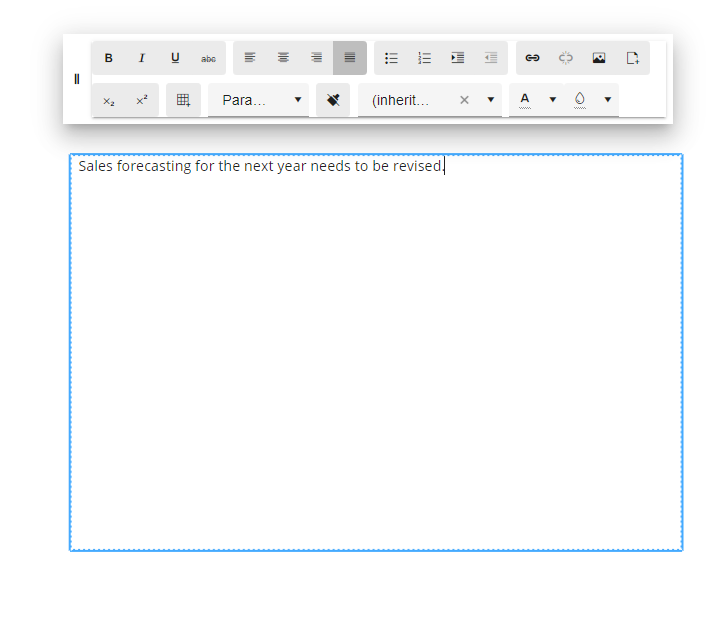
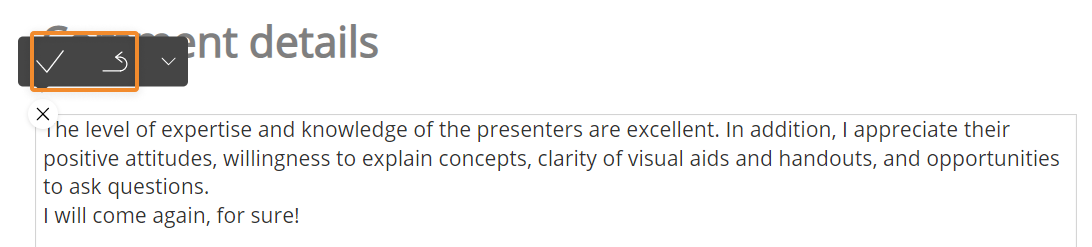
If Save/Undo mode is enabled on the Screen, after you have entered your text, click on the save icon in the floating panel at the top left of the Object or press the F9 key on your keyboard.
The undo arrow icon allows you to restore the last saved values (i.e. it discards all unsaved changes).
The Object toolbar
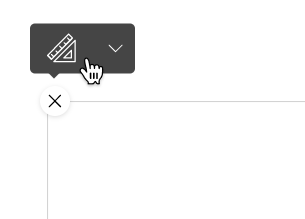
When you hover over a Dynawrite Object, the Object toolbar icon ( ) appears in the top left corner. Click on it to reveal the Object toolbar as a sliding toolbar.
The Object toolbar includes the following icons by default (unless otherwise configured):
The Layout icon
 . Opens the Layout editor.
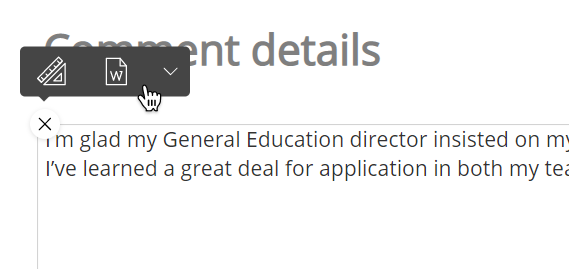
Comment icon
 . Displays any comment attached to the Object (if any). Depending on the comment configuration, the icon displayed can be a balloon icon, a question mark icon, or an alert icon.
Export document icon
 . Exports data from all Dynawrite Objects on the Screen into a Microsoft Word file that is downloaded on the fly.
How to use the Export document feature
To use the Export document feature:
In Play mode, hover over a Dynawrite Object and click on the Object toolbar icon (
 ) that appears in the top left corner to reveal the Object toolbar as a sliding toolbar.
Select the Export document icon (
 ). A dedicated configuration popup window appears.
Give your file a name and click on "More" to hide or move individual Dynawrite Objects as desired. Enable the "Add a page break between sections" option to export each Dynawrite to a new page in the Microsoft Word file.
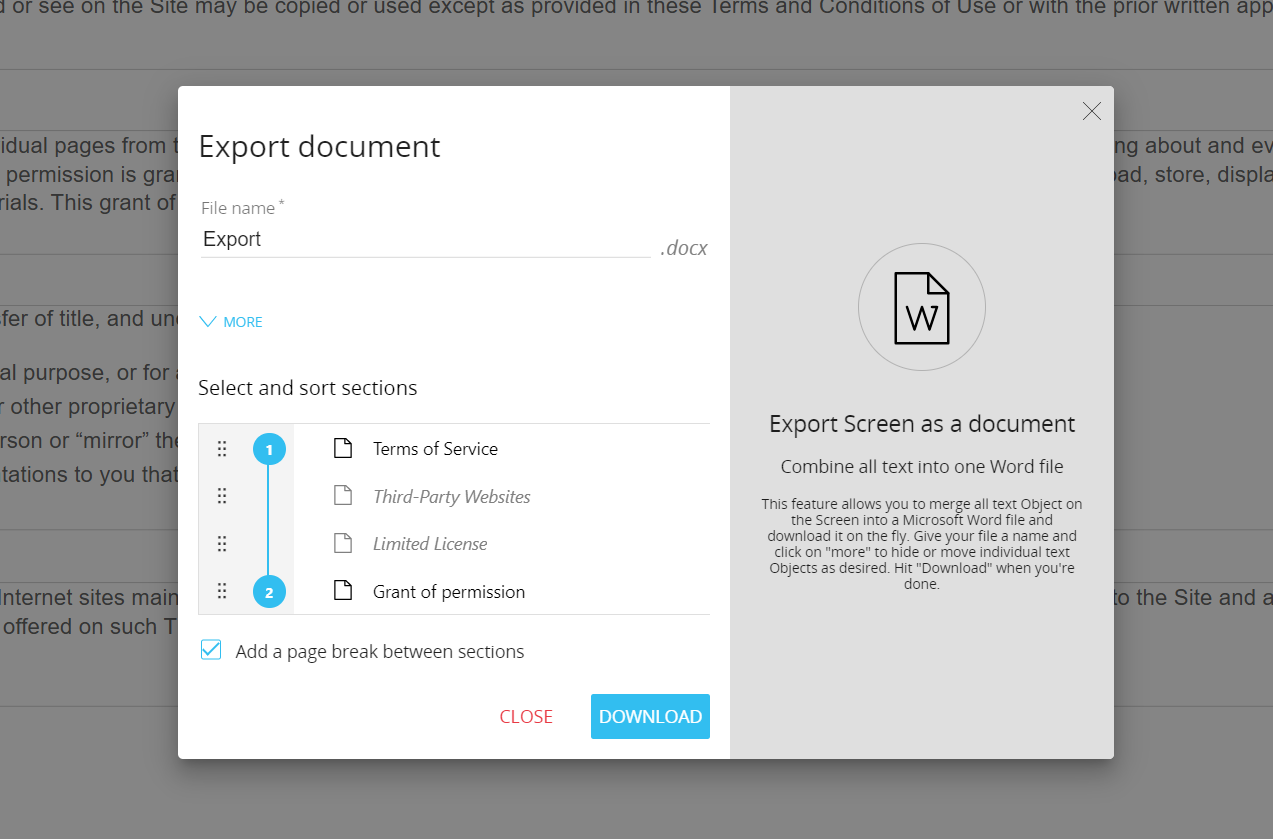
Click on the number at the side of each Object to prevent it from being exported. Disabled Objects will appear grayed out in the list. In Design Mode, use the Tooltip field under the "Comments" menu to give each Dynawrite Object a name that will be used in the configuration popup window.
Click "Download" to save your configuration and download the file.
If you have a Developer or a Power User license, downloading the Word file will also save the export configuration and make it the default one for all users from then on. If you have a User, User 15, or a Lite license, downloading the Word file will also save your current export configuration. The configuration will be retained until you close the browser tab where you downloaded the file.