This topic describes how to create a new Presentation and to configure its properties.
There are several ways to create a new Presentation: from the Presentations homepage of Board or directly from a Capsule.
To create a new Presentation from the Presentations homepage, click on the  icon in the top left next to "Presentations". The new Presentation is created on the fly and opens in Edit Mode, allowing the user to edit its properties and add Slides right away.
.png)
Users can also create a new Presentation from a single Screen of a Capsule. To do so, hover over the burger menu in the Top Menu and click on "Add to Presentation".
A popup window asks the user if they want to add the Screen to an existing Presentation or to a new one. Select "Create new" and enter the name of the new Presentation to create it on the fly and access it in Edit Mode.
Should the Screen (or the Capsule of said Screen) that was added to a Presentation be deleted or moved to another Capsule or folder, or if the Capsule is renamed (but not the Screen), the Slide is no longer linked to the Screen and no data displays. To fix this, add the Screen from its new location to the Presentation again.
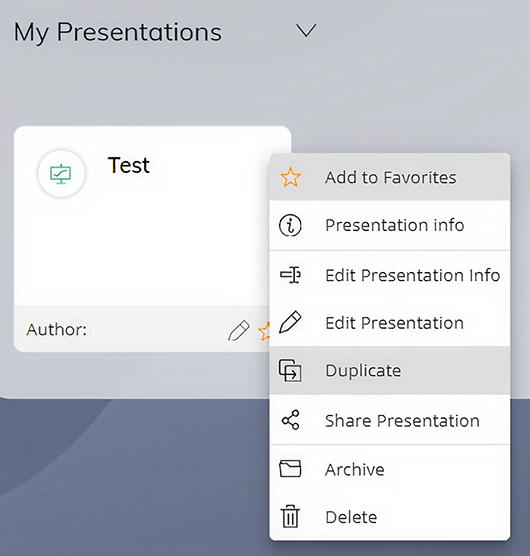
Another way to create a new Presentation is by copying an existing one. This is particularly useful, for example, when the user wants to include the same Slides in a new Presentation but display different data.
To copy an existing Presentation:
Click on the 3 vertical dots
 in the upper right corner of a Presentation tile.
Click on "Duplicate".
Enter the name of the new Presentation in the popup window or leave it as is.
Click "SAVE".
Presentation properties
Once a new Presentation is created, a few additional properties and settings are available in the right panel in Edit Mode. To reveal the right panel, click on the settings icon  at the top of the left panel.
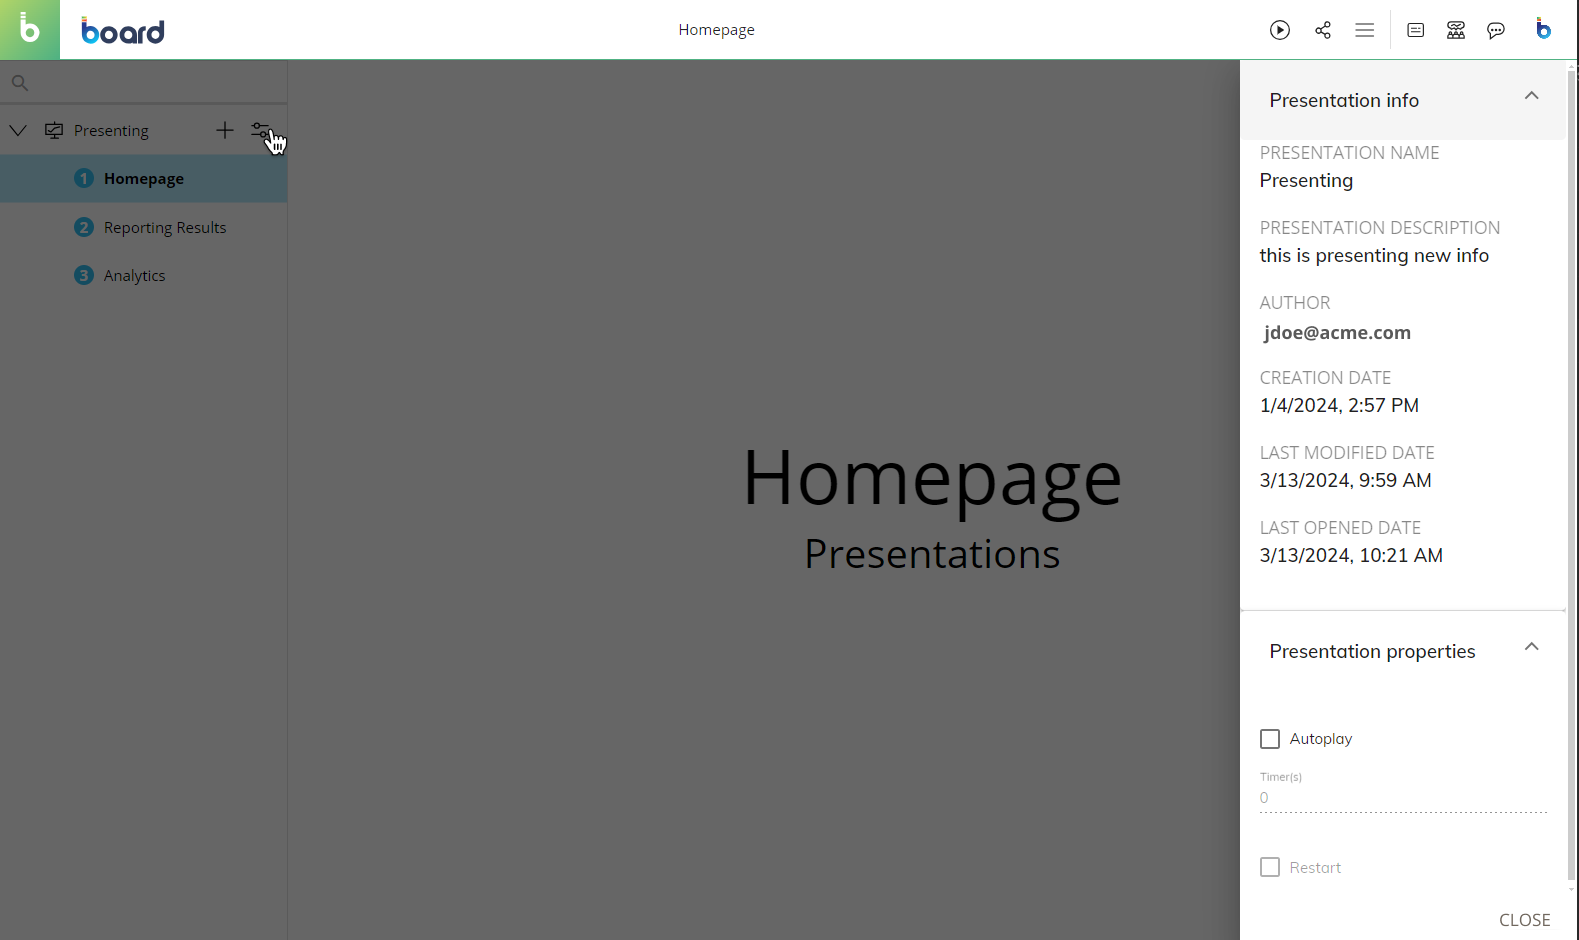
In the right panel, the following properties are available:
PRESENTATION NAME. Enter a title for the Presentation that will be displayed in the Presentation tile and in the left panel in Edit Mode.
PRESENTATION DESCRIPTION. Enter a short description of the Presentation that will be displayed in the Presentation tile and in the left panel in Edit Mode.
Autoplay. Enable Autoplay for the Presentation and define the Slides transition time under "Timer(s)". The minimum transition time is 10 seconds.
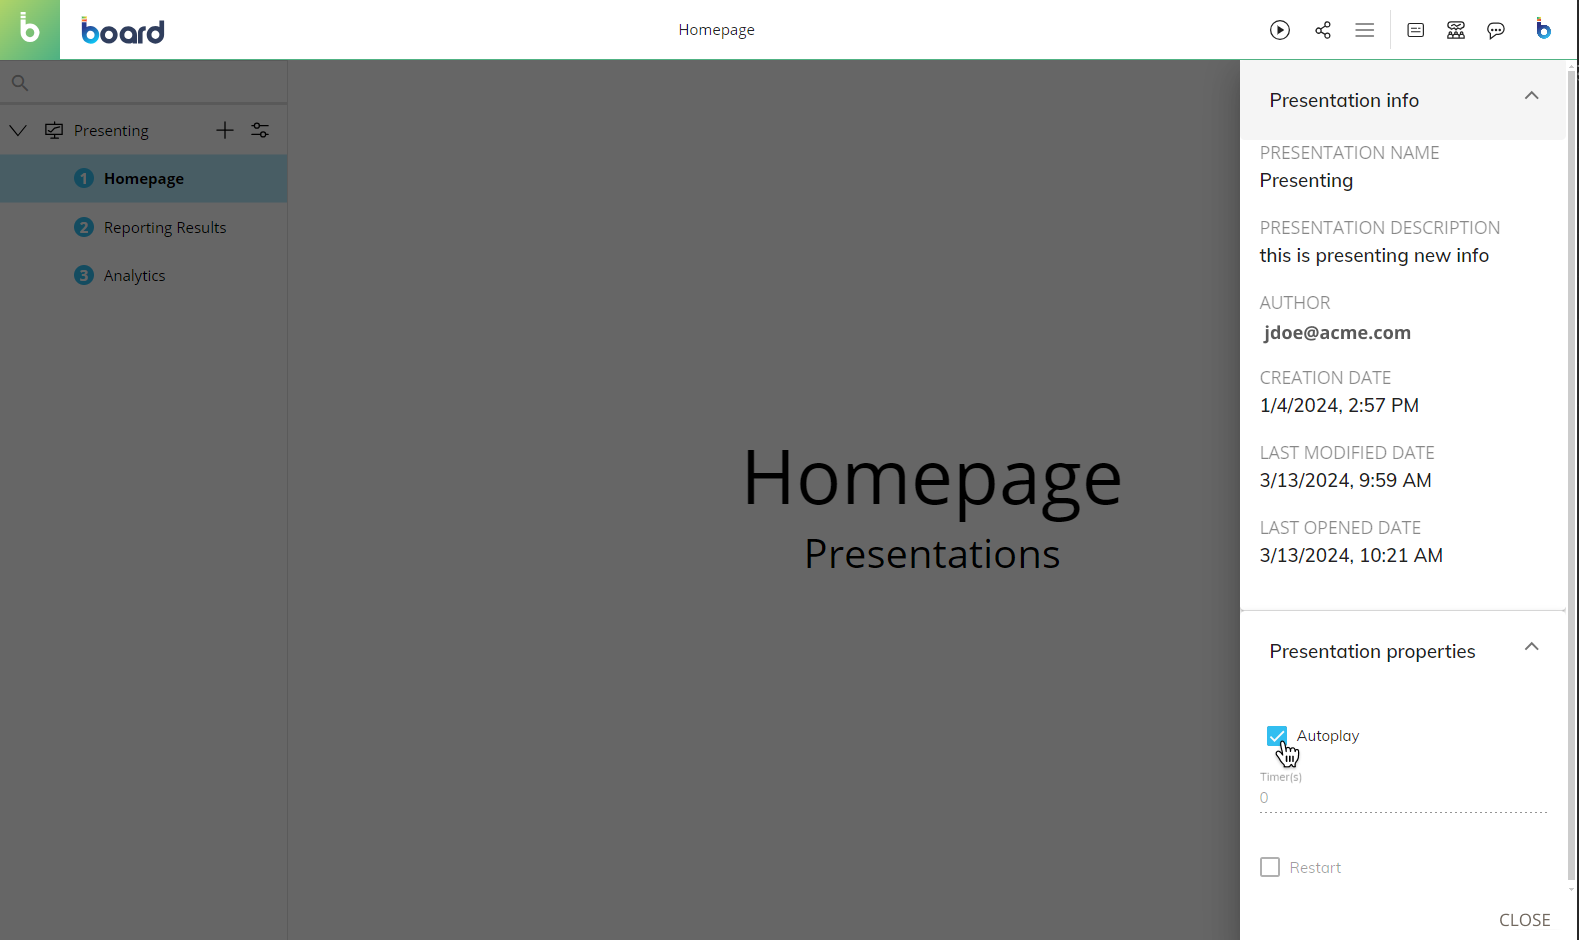
If autoplay is enabled, the end user can use the play button to automatically play the Presentation slideshow in Play Mode.
An additional pause icon appears when the Presentation slideshow is launched in Play Mode.
Restart. Enable this option to loop the Presentation slideshow. This option can be enabled only if autoplay is enabled as well.
Multiple users working on the same Presentation
When two or more users are working on the same Presentation, the following scenarios apply:
They can add Slides at the same time.
They can apply changes to the same Presentation at the same time. When this happens, the last save overwrites the others, regardless of Security Profiles.
If a user creates a Slide (without saving it) and another creates another Slide with the same title, they are both able to edit and save it, but only one Slide is added to the Presentation and the last save overwrites the previous ones.