This section is about how to create a Layout within the Board Excel Add-in, its options and settings.
After installing and establishing a connection to Board, you can now successfully add a Layout using the Board Excel Add-in.
To create a Layout in Board Excel Add-in, follow the instructions below:
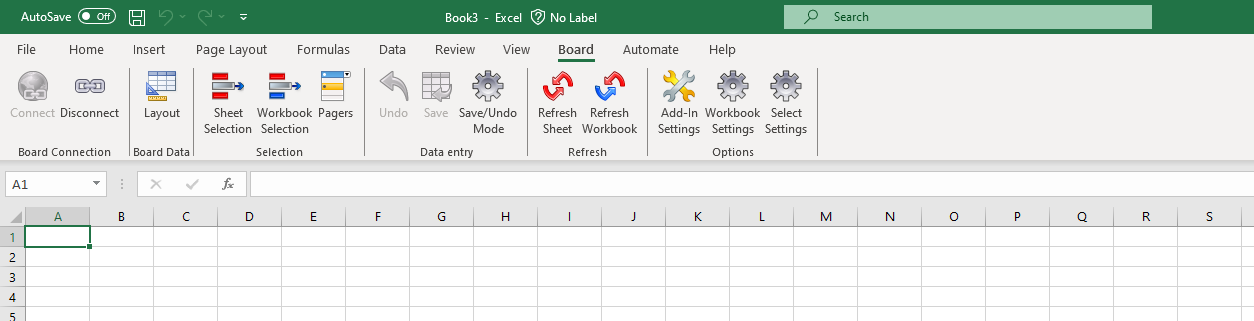
Open the Layout Editor. Click on the cell where you would like to add your Data View and click on "Layout" in the Excel ribbon of options under "Board" to open the Layout window.
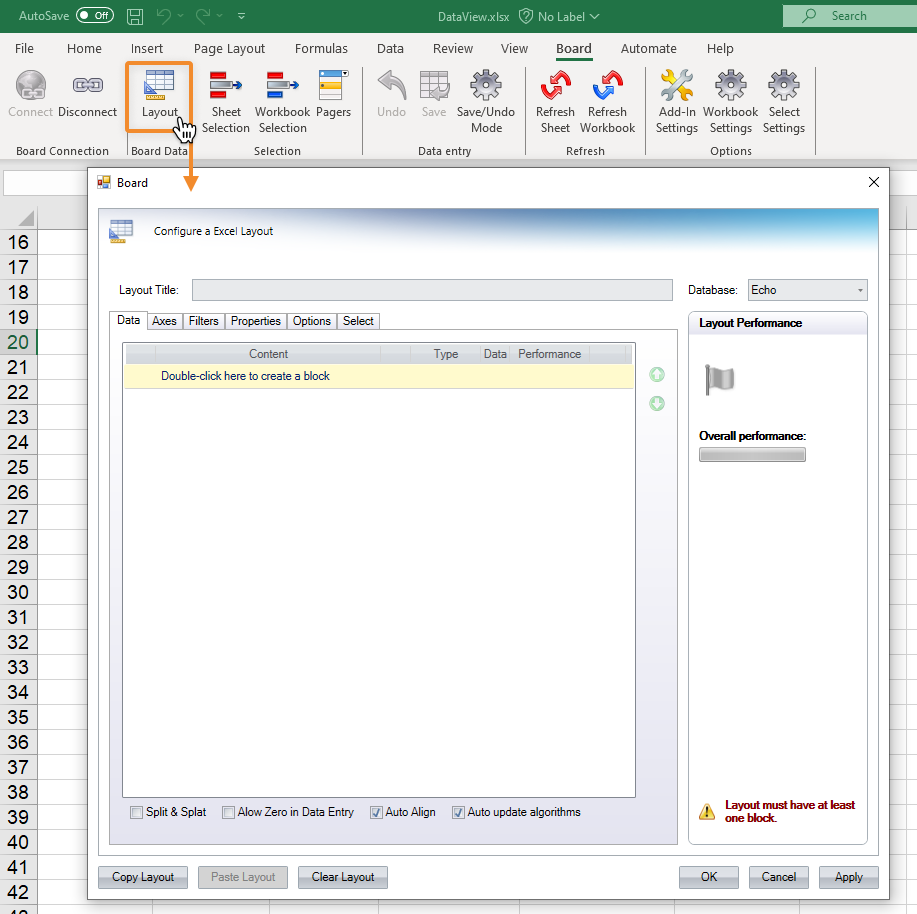
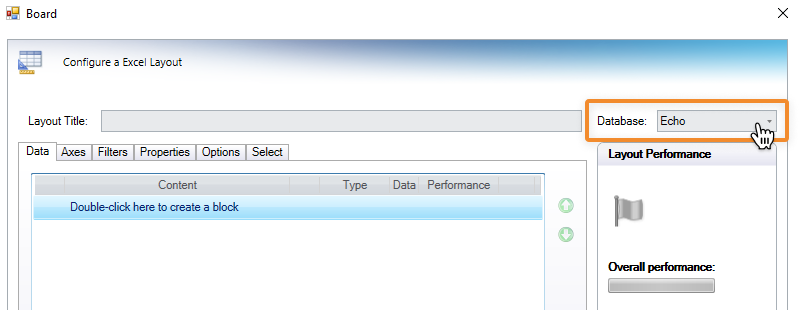
Select a Data model. From the Database dropdown, select the Data model you would like to configure a Layout from.
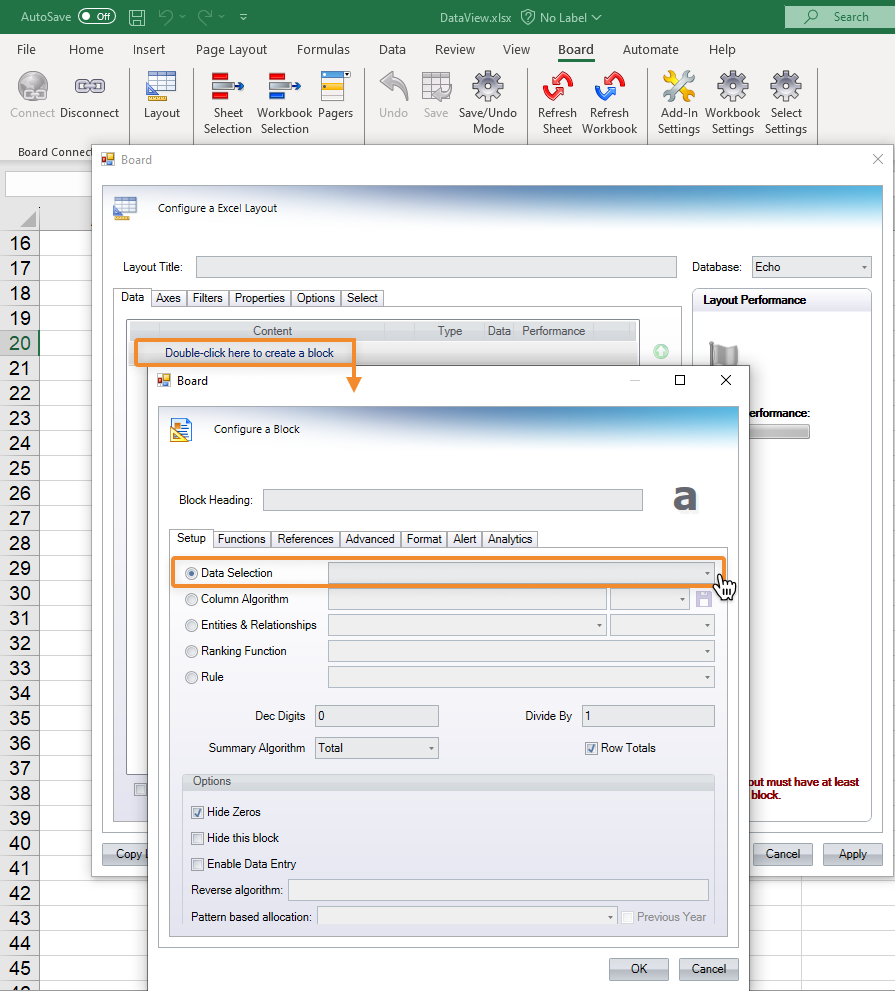
Add a Data Block. Double-click the yellow cell in the Data area that says "Double-click here to create a block" to open the "Configure a Block" window where you can add a Data Block and configure its settings.
From this window, you see 7 tabs available, the first of which is open by default and named "Setup". Here, you can add a Data Block from the first option "Data Selection" by using the dropdown menu and selecting a Block.
Configure the other Block settings (optional). Read the Excel Add-in Layout article to find out more in detail about Block settings in an Excel Add-in Layout.
Click OK to return to the Layout.
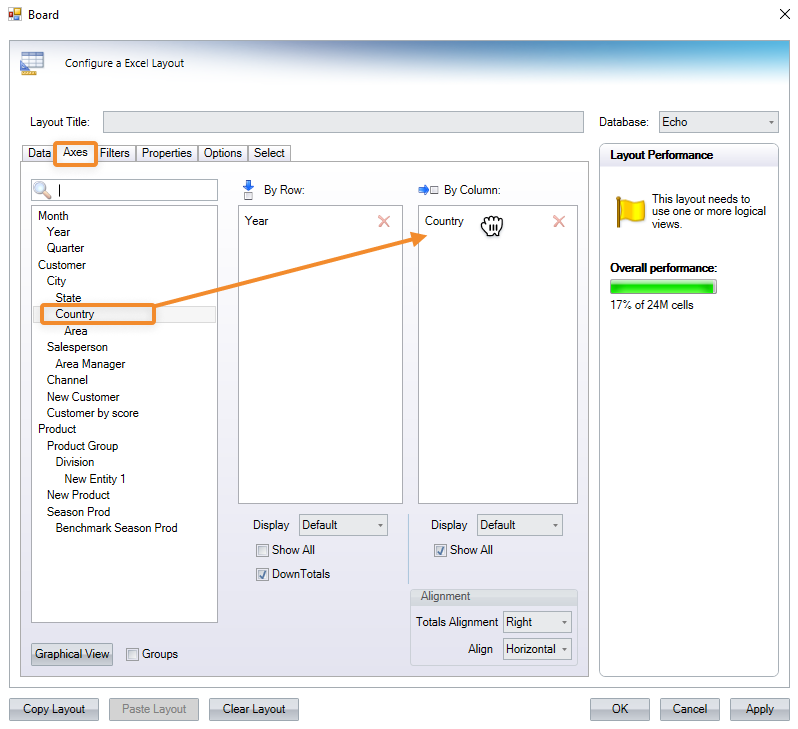
Click on the Axes tab and drag and drop the Entities from the list on the left-hand side that you want to dimension the Data View by to the "By Row" and/or "By Column" areas. Read more about the Axes options in an Excel Add-in Layout.
Add filters, configure properties, add options, and/or add a select to the Layout (optional). Read the Excel Add-in Layout article to find out about all the settings and formatting options you can configure from the Excel Add-in Layout.
Click OK to apply the Layout, close the window, refresh the Sheet, and display your table.
Layout Options in Board Excel Add-in
In the Options area, you can add Row Style templates that were created in the Board Platform.
Row template. Choose an available Row template from the dropdown that was created in the Board Platform.
Other Layout settings
The other Layout settings like Block settings, Filters, Properties, and Select are common among all Layouts in the various Board Microsoft Add-in applications. See the Board Office Add-in Layout for more information.
The layout settings for "Block Aggregation Functions" and "Object Properties" are not currently supported in the Add-in.
The Excel Add-in Drill Down
The Excel Add-in Drill Down has similar functions and follows the same rules, restrictions, and logic as the Board Platform Drill Down on a Data View, with some differences.
The main differences are:
You can only perform drills on Entities.
The drill results can be displayed in the Excel table in addition to a popup window.
The configuration window looks different.
All drill downs (including the Embedded display) are automatically closed when refreshed.
The Drill Down configuration window
The Drill Down configuration window follows the same logic as the Board Platform Drill Down window, but looks different.
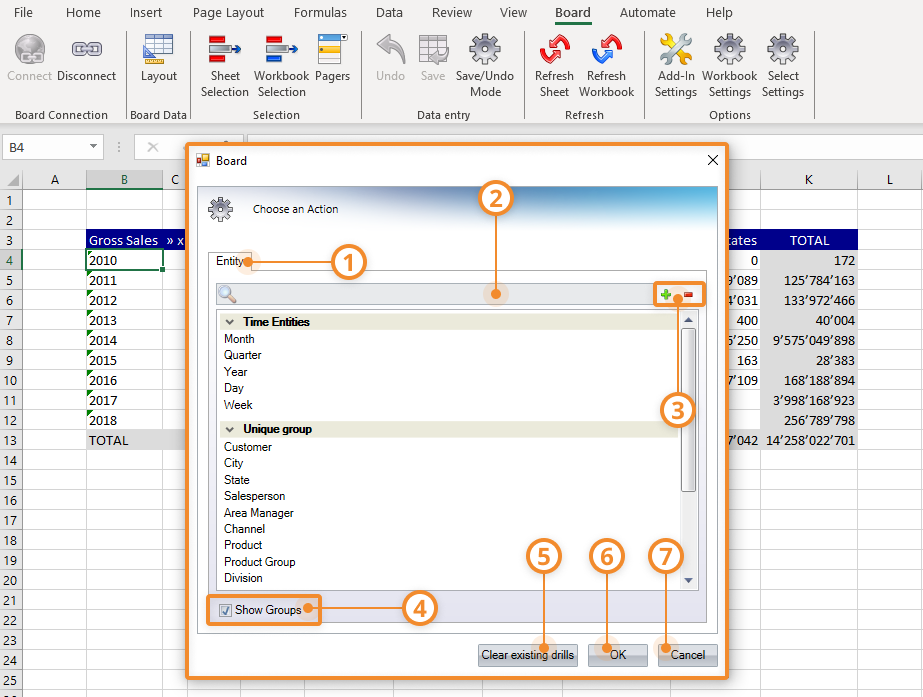
When you open the Drill Down configuration window, as explained below, you will see as follows:
Entity tab. A list of Entities to choose from to perform the drill.
A search bar. Search for a specific Entity.
Plus/minus view icons. Expand or collapse the Entity Groups. Plus expands, while minus collapses. These icons are only available when "Show Groups" is selected, as shown in the image below.
Show Groups checkbox. When selected, Entities are grouped, which can be collapsed or expanded for viewing purposes.
Clear existing drills. Clears the existing drill configurations. Drills open before clicking "Clear existing drills" will remain displayed and you must refresh the Sheets or close the drills by double-clicking the member cells that display the drill results.
OK. Applies the Entity drill.
Cancel. Closes the Drill Down configuration window without applying a drill.
Create a Drill Down
To create a Drill down, proceed as follows:
Right-click or double-click on a member of the Entity dimensioned by row to open the Drill Down configuration window.
Right-click will always open the Drill Down configuration window, even if a configuration has been made. Double-click will only open the Drill Down configuration window if no configuration has been made. And if it has, a double-click will deploy the Drill Down.
Select an Entity to drill down on from the Drill Down configuration window and click "OK", which will perform the drill on the member By Row you right-clicked to configure the drill.
The results display in a popup window or embedded in the Excel table based on the custom configurations.

Drill down displayed in a popup.
A popup window is similar as in the Board Platform, whereas embedded results will display as follows:When drill-down results display embedded in the Excel table, the information of the drill will appear next to the member name in the format "[Drill by: Entity]", where Entity is the Entity that was chosen from the Drill down configuration window.
For example, if you configured a Drill on 2010 with the Quarter Entity, the 2010 member cell will now read "2010 [Drill by: Quarter]".The drill-down data appears underneath the cell of the member in which you deploy the Drill Down on.
By default, the drill-down data is differentiated by the following colors, but can be different based on color formatting: the value cells turn a light grey color, the row borders of the individual cells of each column are removed, and the column borders are light blue, as shown below.
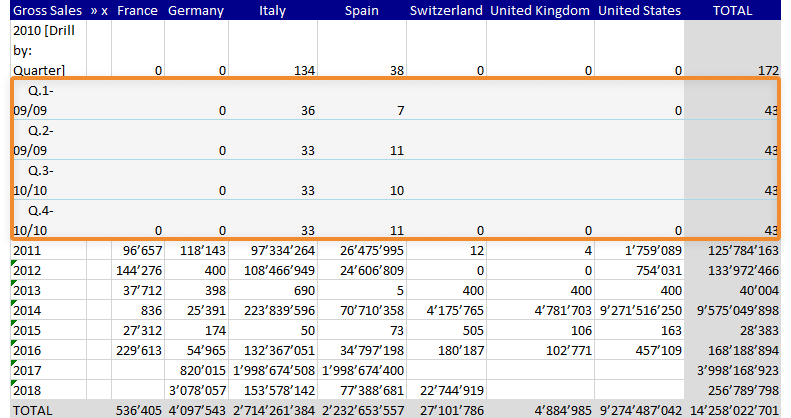
Drill down results displayed embedded.
The following example shows a table with Year set By Column and Country set By Row and the creation of a Drill Down on Quarter, applying the drill down to 2010, which is the initial member by column that the Developer right-clicked to configure the Drill Down.
You can create a different Drill Down after already creating one by following the same steps above, however, results of an existing Drill Down must be closed before doing so.
Read about creating a Drill Down in a Data View in the Board Platform for more information.
You can drill down further on the results of a Drill Down, similar to the function in the Board Platform, by following the same process described above.
Interacting with a Drill Down
Interacting with the Drill Down is similar to the Drill Down in the Board Platform with some differences described below:
To close the drill results displayed, double-click on the member cell that displays the drill.
Apply the same drill configuration to other members. Once you configure a Drill Down on a particular member, you can double-click on other members by column to apply the same configuration pathway (including multiple drills) which is the same logic as the Board Platform. However, the difference is that you can display multiple drills at once, being able to see all the data for all the drills performed.
Configure a new drill to a different member. Follow the same steps to configure a new Drill Down on a different member to display multiple different drill results on different members. For example, if you perform a drill on 2012 with the Quarter Entity and then a drill on 2011 with the City Entity, both can be displayed at once, but the second drill is the saved configured drill that will apply to other members.
Removing a Drill Down
To remove existing drill-down configurations, open the Drill Down configuration window and click on "Clear existing drills". A dialog popup window that tells you the Drills have been cleared opens. Click "OK" to continue. You must then click "Cancel" on the remaining Drill Down configuration window.
If drill results were open before removing the existing drill-down configurations, they will still appear until you refresh the Sheet or close the drills by double-clicking the member cell that had a drill applied to it.