This topic describes how to create a new Data Model and to configure its properties.
To create a new Data Model using the orange plus icon in the top left corner next to "Data Models", proceed as follows:
Click on the orange plus icon
 in the top left corner next to "Data Models" in the section homepage.
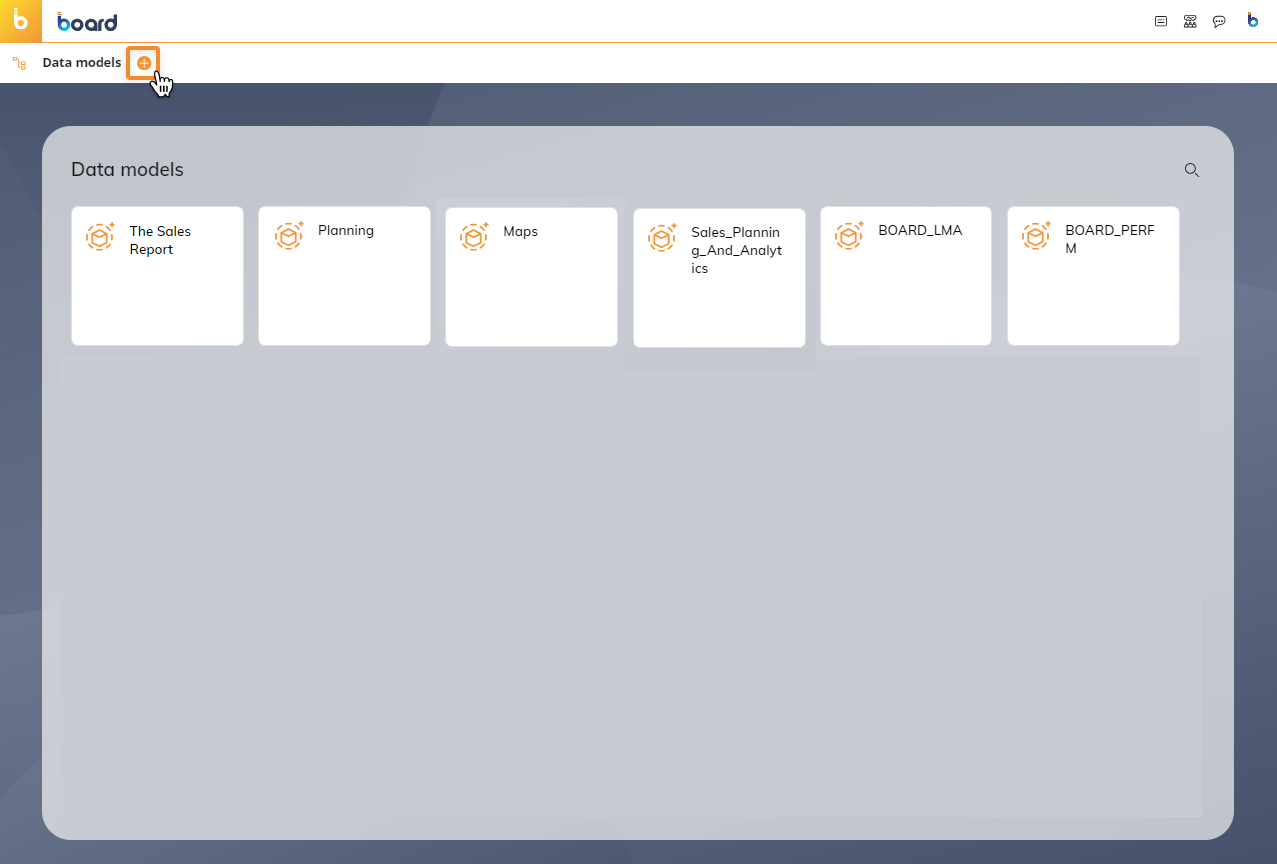
Enter a name for your Data Model that will be displayed in the Data Model tile and in the navigation left panel. See Data Model workspace.
Define the Time Range of the data you will upload or import later.
Enable the Time Entities you intend to use as dimensions of the Cubes you will create later (time granularity). See Time Range and Time Entities below.
Define the language of the time Entities descriptions (names of the months, etc.).
Click on "CREATE" to create the Data Model.
All Board Data Models are Unicode-based, so they can support all double-byte languages such as Chinese, Japanese, and Korean. The Data Model name must be unique. The Data Model name can include any Unicode characters except the following: \ / : * ? " < > | €
The Data Model name cannot be any of the following: - CON, PRN, AUX, NUL - COM1, COM2, COM3, COM4, COM5, COM6, COM7, COM8, COM9 - LPT1, LPT2, LPT3, LPT4, LPT5, LPT6, LPT7, LPT8, LPT
Time Range and Time Entities
When you create a new Data Model, you must define the Time Range of your data: this initial configuration should reflect your existing data lifespan and extend for a few years in the future, for planning purposes.
For example, if the current year is 2024 and you have data covering the last 3 years, an optimal Time Range for a new Data Model would be from 2021 to 2025. This Time Range also includes an extra year in the future for budgeting.
The following year, you may decide to shift the Time Range to 2022-2026 to include budgeting for the year ahead or you could shift to 2022-2025, removing one year of past data which is no longer relevant.
The minimum length of a Time Range is 1 year: in that case, the start year and the end year are the same. The maximum extent of a Time Range is 110 years with the earliest being 1990 and the latest 2100.
In this section you can also define custom Time Entities and configure their relationships with Board's built-in Time Entities. Learn more about Time Entities in the Time Range section.
You can always change an existing Time Range, but some modifications require additional data management activities.
The following modifications can be done at any moment and don‘t require a reload of data:
Increasing the end year value (extend future years)
Adding or removing Time Entities
The following modifications will clear all data in Cubes of the Data Model, to ensure it is restructured in the most efficient way:
Changing the start year (extending or removing data relating to years)
Decreasing the end year (removing data for future years)
To preserve some or all of the data, the Data Model should first be extracted and then reloaded once the modification is made.
Week
When enabling the Week Entity, define the first day of the week (the default value is Monday), then select 1 of the 4 conventions described in the table below to define the first week of the year.
Value | Description |
|---|---|
First four days | The first week that has at least four days in the reference year is considered the first week of the year. By selecting this option, the week starting on Monday corresponds to the ISO 8601 standard described further below. |
First full week | The first full week (from Monday to Sunday) of the year is considered the first week of the year. |
January 1st | The week in which January 1 occurs is considered the first week of the year. |
Board Previous Version | Convention adopted in Board version 4.x and earlier. Select this option if you need compatibility with Board Data Models built using version 4.x or earlier. |
By selecting one of the first three options, you can customize the description of each member of the Week Entity using the nn and YY variables, where nn and YY represent the week number and the year respectively. The custom description cannot be longer than 15 characters.
Examples
Syntax | Result |
|---|---|
Week nn/YYYY | Week 01/2021, Week 02/2021, etc. |
W.nn of YY | W.01 of 21, W.02 of 22, etc. |
Week nn of YYYY | Week 01 of 2021, Week 02 of 2021, etc |
The "Board Previous Version" option offers the following additional options for the description of each member of the Week Entity:
Desc. = Week nr. Select this option to have the calendar week number as the description for each member of the Week Entity. Example: [W01], [W02], etc.
Desc. = Date. Select this option to have the date of the last day of the week as the description for each member of the Week Entity (in the format mm/dd/yyyy). Example: 01/03/2021, 01/10/2021, etc.
If you enable both options, the description of each member of the Week Entity will include both pieces of information.
For example: [W01] 01/03/2021, [W02] 01/10/2021, etc.
ISO 8601 standard: additional information
ISO 8601 "Data elements and interchange formats – Information interchange - Representation of dates and times" - ISO 8601 : 1988 (E) paragraph 3.17:
Week, calendar: A seven day period within a calendar year, starting on a Monday and identified by its ordinal number within the year; the first calendar week of the year is the one that includes the first Thursday of that year. In the Gregorian calendar, this is equivalent to the week which includes 4 January.
This can be implemented by applying these rules for Calendar weeks:
A year is divided into either 52 or 53 calendar weeks.
A calendar week has 7 days. Monday is day 1, Sunday is day 7.
The first calendar week of a year is the one containing at least 4 days.
If a year is not concluded on a Sunday, either its 1-3 last days belong to next year's first calendar week or the first 1-3 days of next year belong to the present year's last calendar week.
Only a year starting or concluding on a Thursday has 53 calendar weeks.
Quarter
If the Fiscal Year Entity is enabled, you may choose to refer to Fiscal quarters, rather than stick to the standard calendar quarters.
You can customize the description of each member of the Quarter Entity using the nn, YY, and yy variables.
If the Fiscal Year Entity is disabled, nn represents the quarter number while YY represents the year.
If the Fiscal Year Entity is enabled, the yy variable represents the starting calendar year of the Fiscal Year, while the YY variable represent the final calendar year of the Fiscal Year.
The custom description cannot be longer than 15 characters.
Examples
Syntax | Fiscal Year enabled | Result |
|---|---|---|
Qnn of YYYY | No | Q1 if 2021, Q2 of 2021, etc. |
Q.nn yy-YY | Yes | Q.1 20-21, Q.2 20-21, etc. |
Q.nn of FY yy-YY | Yes | Q.1 of FY 20-21, Q.2 of FY 20-21, etc. |
Fiscal year
When enabling the Fiscal Year Entity, define the starting month from the month list (the default value is January).
You can customize the description of each member of the Entity using the yy and YY variables, that represent the starting calendar year of the Fiscal Year and the final calendar year of the Fiscal Year respectively.
The custom description cannot be longer than 15 characters.
Examples using a Time Range from 2018 to 2021:
Syntax | Result |
|---|---|
yy-YY | 18-19, 19-20, 20-21 |
yyyy to YYYY | 2018 to 2019, 2019 to 2020, 2020 to 2021 |
F.Y. yy-YY | F.Y. 18-19, F.Y. 19-20, F.Y. 20-21 |
When the Fiscal Year Entity is disabled, you can create up to four custom time Entities.>> When the Fiscal Year Entity is enabled, you can apply the Yearly Cumulated Value function either based on the Fiscal Year or on the standard calendar year (in this case, a dedicated checkbox automatically appears next to the Yearly Cumulated Value function).