To configure Objects on a Screen, you need to activate Design Mode.
While in Design Mode, you can:
Select an Object and access its additional properties from the Object Properties panel. This option is common to all Screen Objects. It is also possible to select multiple Objects and then apply a common property (for example, you can select two or more buttons and define their background color at once).
The formatting and graphic customization properties are located in the contextual panel on the right. If multiple Screen Objects are selected in the Screen design area, the contextual right panel offers the options that common to all of those Objects.
Edit an existing Layout of an Object. To do so, select the Object and click the "Configure Layout" button
 located in the Properties Toolbar on the side of the Properties panel of the Capsule workspace (only for Objects that are defined by a Layout).
Click the "Configure me" button (only for Objects that are defined by a Layout).
Options common to all Screen Objects
Each Object has its own specific settings and configuration options. However, all Objects share the following set of common features and properties, located in the Object Properties panel to the right of the Screen design page in Design Mode when an Object is selected:
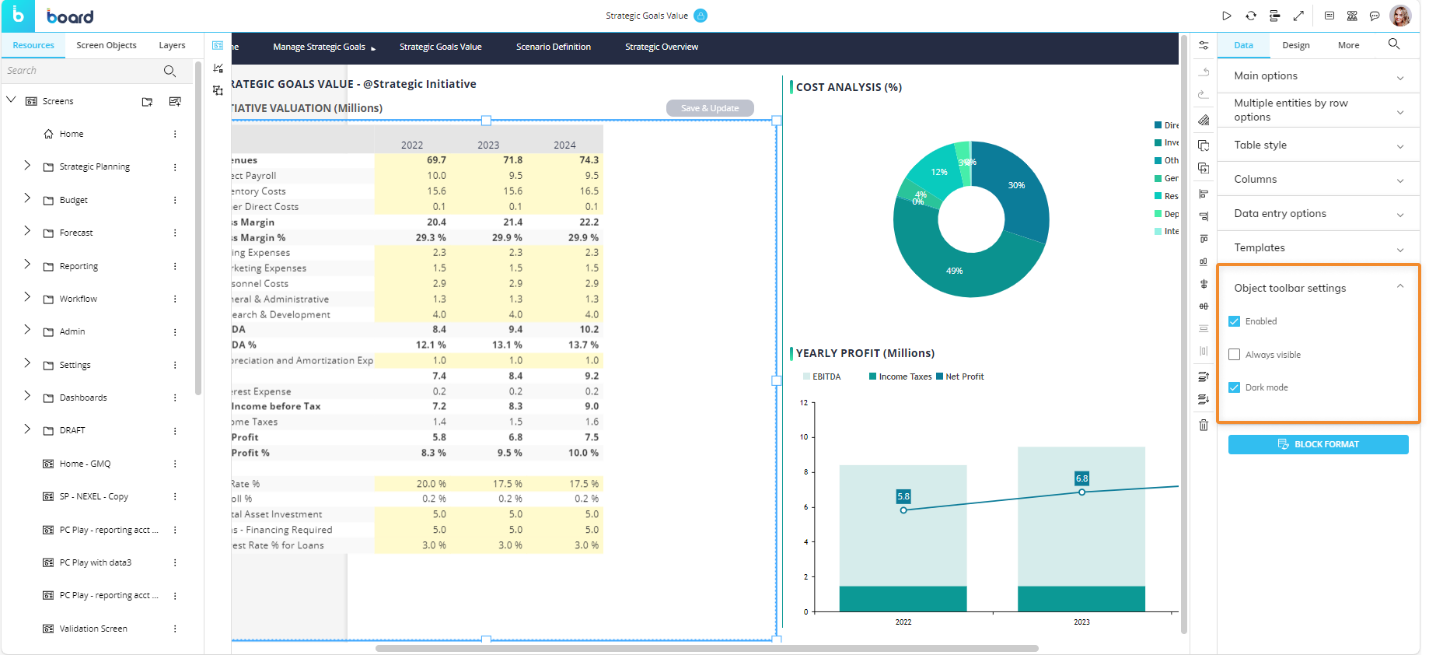
Under Data
Object toolbar settings. Allows you to enable the toolbar in Play Mode, pin it so it is always available, and choose a dark color theme.
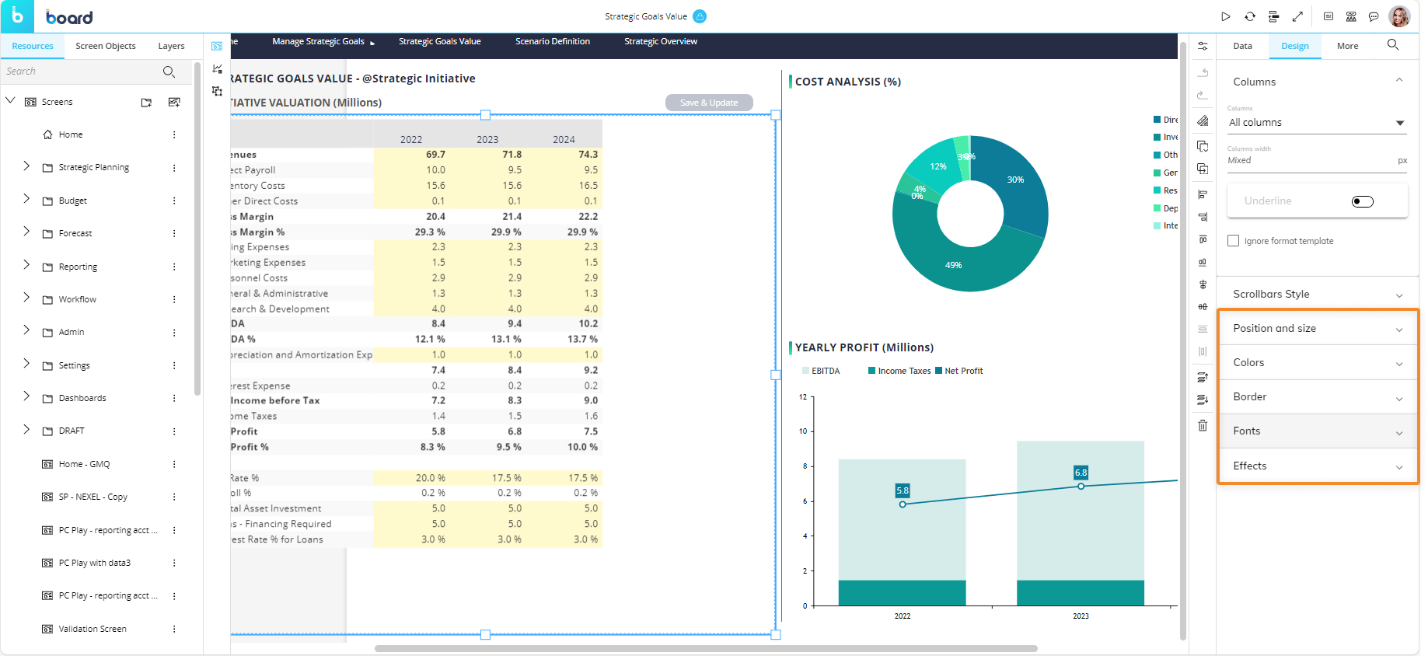
Under Design
Position and size. The configuration of the Object's position on the Screen, its size and a rotation angle.
Font. Font configuration: text font family, font size and color.
Colors. The Object's elements for color or background image configuration.
Border. The Object's border style configuration.
Effects. The Object's transparency configuration. In Play Mode, the Object appears opaque until you hover over it.
Under More
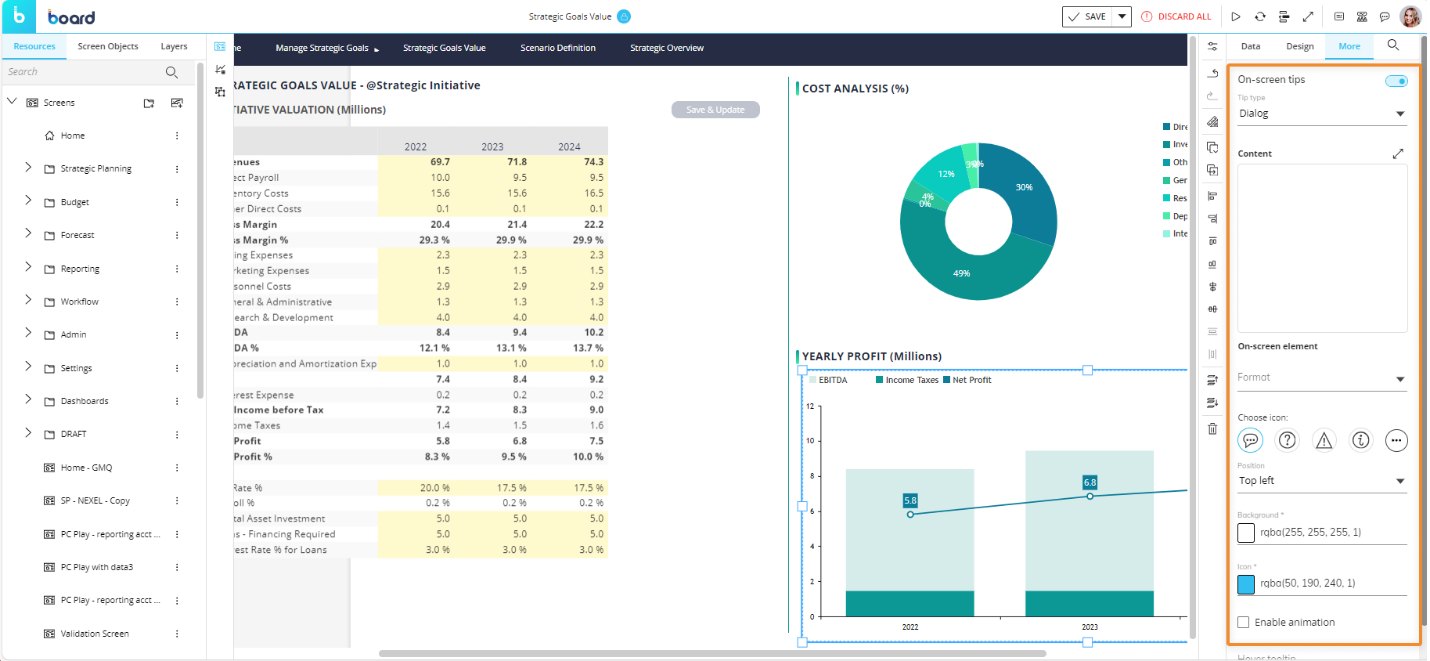
On Screen tips. Enable to create a custom mouse-over Tooltip. An icon will appear over the Object in Play Mode, and a message will appear when the Planners hover over the icon.
This is helpful for directing the Planners or communicating with others who will access the Screen. Access the options by enabling "On-Screen tips".
Tip type. Choose the format of the Tooltip that displays to the user, either "Dialog" or "Balloon".
Dialog. Shows message in a popup window.
Balloon. Shows message in a text bubble over the Object.
Content. Write the message of the Tooltip which will display when the Planners hover over the icon.
On-Screen element. Choose the Format of the element: "Icon" or "Text or Number".
Icon. Customize the displayed icon.
Choose icon. Choose the icon you want to display for the mouse-over Tooltip.
Text or Number. Customize the Text or Number.
Text or Number. Write in what you would like the element to say.
Position. Choose the position of the element.
Background. Choose the background color of the Tooltip.
Icon. Choose the icon, text, or number color.
Enable animation. Enable, and the element will pulse to draw the user's attention.
Hover tooltip. Write a message that will appear to the Planners when the mouse hovers over the Object.
Move an Object
Screen Objects can be moved or resized by clicking on an Object and moving or resizing its borders.
To move an Object, select it so its shape is outlined with a light blue dotted line. Next hover your mouse pointer over the dotted line, click and drag the object in the desired position. 
Do not hover the mouse pointer over the handles of the bounding box, as those handles are used to resize the Object.
This action can be performed simultaneously on multiple Screen Objects: learn how to select multiple Objects.
Resize an Object
To resize the area of an Object, select it so it has a light blue dashed border. Hover your mouse pointer over the resize handles (the little blue squares along the binding box), click and drag them to enlarge or reduce the area of the Object.
Some Objects automatically resize to match their area, while others do not (for example, the Data View). In the latter case, scrolling bars are displayed to permit navigation to content not currently visible in the Edit window.
Copy and Paste Objects
Copying and pasting Objects allows you to save time, for example, when you need to create Screens that use the same Objects but display different data, or when you want to preserve graphic customizations throughout your Screens.
To copy an Object, select it and click the "Copy and paste" icon in the Properties Toolbar always available on the side of the Properties panel to the right of the Capsule workspace to open the menu and click on "Copy Object". A notification message will inform you that the Object has been copied to the clipboard.
To paste an Object, click the "Copy and paste" icon in the Properties Toolbar always available on the side of the Properties panel to the right of the Capsule workspace to open the menu and click on "Paste Object". You can paste the Object in the same Screen or in other Screens, even if they are not in the same Capsule.

These actions can be performed simultaneously on multiple Screen Objects: learn how to select multiple Objects.
Copy and Paste Objects formats
Copying and pasting Objects formats is a fast and easy way to apply custom properties and graphic styles to other Objects in the same Screen or in other Screens.

To copy an Object format, select it and click the "Copy and paste" icon in the Properties Toolbar always available on the side of the Properties panel to the right of the Capsule workspace to open the menu and click on "Copy format". A notification message will inform you that the format has been copied to the clipboard.
To paste an Object format, click the "Copy and paste" icon in the Properties Toolbar always available on the side of the Properties panel to the right of the Capsule workspace to open the menu and click on "Paste format". You can paste the Object format in the same Screen or in other Screens, even if they are not in the same Capsule.
This action will paste only properties and formats common to all target Screen Objects.
The "Paste format" action can be performed simultaneously on multiple Screen Objects: learn how to select multiple Objects.
Align and order Objects
if you have several Objects on a Screen, it may be difficult and time consuming to get them perfectly aligned.
Board offers several alignment presets that allow you to easily arrange and position Objects.
To align Objects, select them and choose one of the six alignment options from the Properties Toolbar located on the side of the Properties panel to the right of the Capsule workspace.
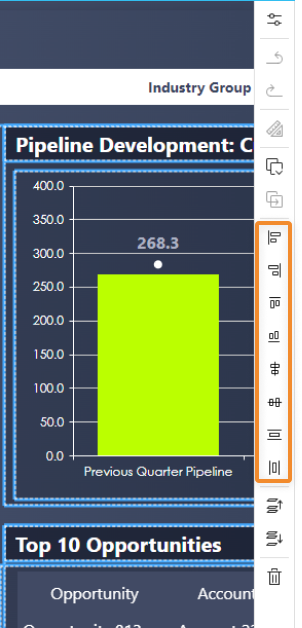
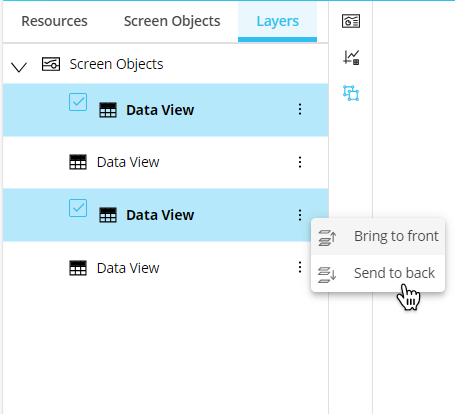
In addition to aligning Objects, Board gives you the ability to arrange stacked Objects in a specific order. The ordering is important when two or more Objects overlap because it will determine which Objects are in the front or the back.
To order Objects, select them and choose "Bring to front" or "Send to back" from the Properties Toolbar located on the side of the Properties panel to the right of the Capsule workspace.
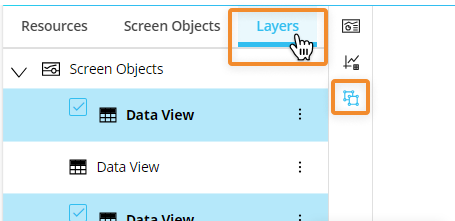
You can review the Objects order from the "Layers" subpage in the left panel of the Capsule workspace.
The align and order actions can be performed simultaneously on multiple Screen Objects: learn how to select multiple Objects in the next paragraph.
Multiple selection
You can select multiple Objects to configure them at once. You can do so in three ways:
Hold the Shift key down while clicking the desired Objects.
Click and drag a rectangle around the Objects that you want to select.
From the tabbed menu in the left panel, access the "Layers" tab. Check the boxes next to the Objects that you wish to select. The names of the selected Objects turn blue and a blue checkmark appears to their left.