This topic describes how to add and remove a new Container to a Screen (or a Container) and the properties common to all Containers.
To add or remove Containers on a Screen, you need to activate Design Mode.
Containers are located in the left panel of the Screen design area, under the "Screen Objects" tab of the menu.
Adding a Container to a Screen
To add a Container on a Screen, simply drag and drop it on the Screen design area. When the Containers is in the Screen design area, it can be moved and resized as desired.
To add an Object to a Container, select it so its current area is outlined with a light blue trait then drag and drop the desired Object from the toolbox on the Container area. You can also use the Copy/Paste Object feature.
Ensure Containers are sized appropriately to minimize the need to scroll or double scroll (horizontally and vertically).
You can add a Container to another Container, in case a Screen has to include many Objects.
Bear in mind the configuration of Objects if Screens are printed out. The use of Containers should change accordingly (i.e. secondary tabs in Containers will not show in print outs).
Removing a Container from a Screen
To remove a Container from a Screen, select it so its shape is outlined in light blue. Next, click the trash icon located in the vertical Properties toolbar on the right of the Capsule workspace or press the Delete key. If you delete a Container, all the Objects it contains will be deleted as well.
To remove an Object from a Container, select it and click the trash icon located in the vertical Properties toolbar on the right of the Capsule workspace or press the Delete key.
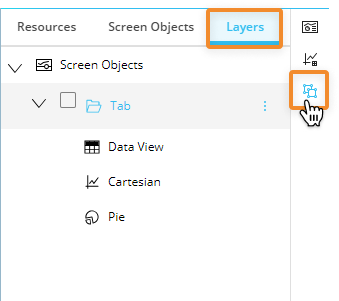
If a Container includes a large number of Objects or Containers, you can easily select the desired Object or Containers from the "Layers" tab in the left panel.
Containers are displayed similar to folders with a tree structure in the "Layers" sub-page.
Containers general properties
The Object supports all options common to all Screen Objects.
In addition, Containers have specific properties that are covered in the following pages of this manual.
Since Containers can be considered as Screens inside other Screens, they can be used to create ATO management environments: to do so, check the "Activate ATO" option in the Object properties panel on the right.
Screen selections and selections made by the user using Selector Objects (if any) also apply to data displayed in Containers.
Formatting a Container
In the Object Properties panel to the right of the Capsule workspace in Design Mode, the following formatting options are available for all Containers:
Data properties
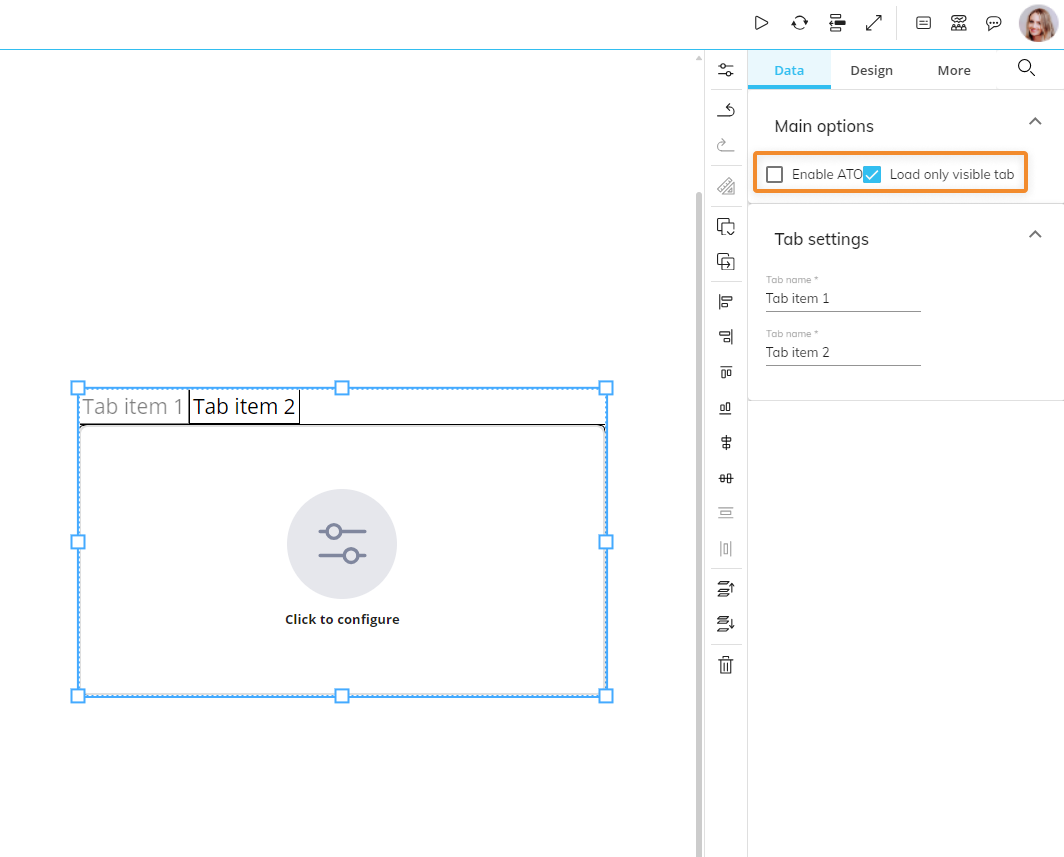
Enable ATO. When enabled, activates ATO in the Container.
ATO cannot be enabled when ATO is already enabled on the Screen or when a Container is nested in another Container with ATO enabled. Read more about ATO.
Design properties
Position and size. The configuration of the Object's position on the Screen, its size and a rotation angle.
Colors. The Object's elements color or background image configuration.
Border. The Object's border style configuration.
Effects. The Object's transparency configuration. In Play Mode, the Object will appear opaque until you hover over it.
More properties
On-Screen tips. Allows the configuration of a custom tooltip and an annotation field specific to that Object. Those information will be visible in Play Mode.