This topic describes how to export and/or email a Presentation and all of the available options.
Presentations might come in handy when users need to export or print a Capsule, a part of it or a collection of Screens taken from several Capsules.
Once the user has added the desired Screens to their Presentation, they can make changes to Layouts, selections, drills, and filters (Pagers) before exporting it.
Presentations can then be exported to a variety of different file formats or they can be sent automatically to multiple users via email.
Refresh and save before exporting
The export uses the configurations and data as they have been most recently saved. If additional Screens have been added to the Presentation without being saved, then they will not be included in the exported report.
Export a printable report
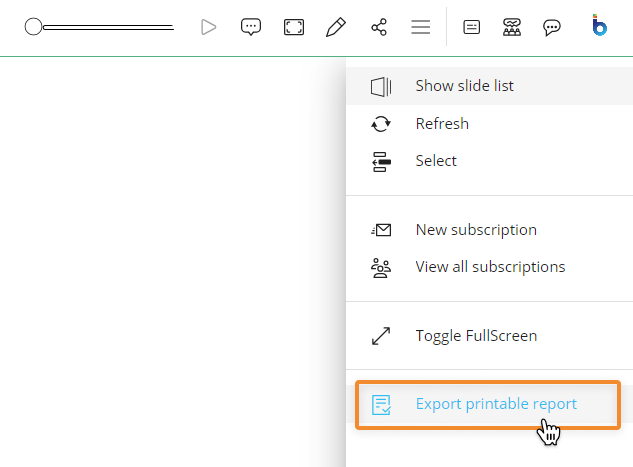
It is possible to export an entire Presentation in various print-ready file formats using the "Export printable report" option, located in the Top Menu both in Edit and Play Modes.
This option exports the currently open Presentation in the following formats:
PDF file
Microsoft PowerPoint presentation. Creates a .pptx document to be opened with Microsoft PowerPoint (version 2007 and newer) containing all Slides of the Presentation.
The Slides are exported using the print template defined for each linked Screen in the Capsule environment. See Print and export data from a Capsule for more details.
To export a Presentation:
From the Top Menu, click on the burger icon to open the sliding panel menu and click on "Export printable report".
Select the export format, PDF or PowerPoint, and the download starts automatically.
The Send To feature
The Sent To feature allows users to automatically send a Presentation to one or multiple Board users via email. Users can create as many recipient lists as they need, each with its own configuration and settings.
The Presentation can be sent in one of the following formats:
PDF
MS Word
MS Excel
MS PowerPoint
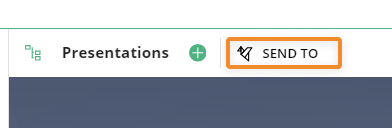
To access the Send To management page, click on "SEND TO" in the upper right corner of the Presentations homepage next to "Presentations".
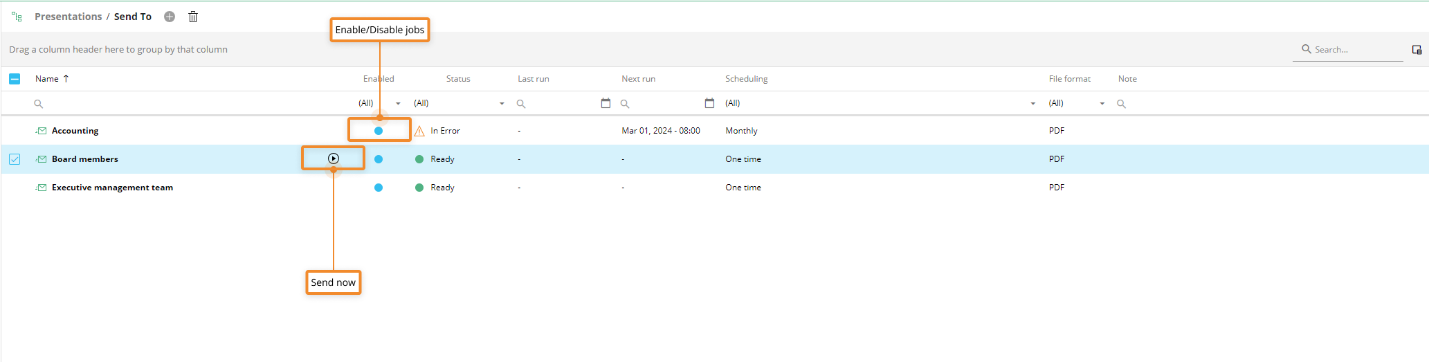
In the Send To page, users can see all existing Send To jobs and their information; the table is sortable and searchable using the interactive header fields. Users can also show or hide columns to their liking, by clicking the Column chooser icon  in the upper right corner of the table.
Disable or enable Send To jobs using the toggle in the "Status" column of the table. Each job can be instantly executed by clicking the "Send now" icon that appears to the left of the "Enabled" radio button when hovering over the row.
The "On open trigger" feature is not supported in combination with the Send To feature. This means that if the Slide being exported includes the "On open trigger" functionality, the associated Procedure executes but the export does not wait for the Procedure execution to complete. To avoid issues in these cases, we suggest to generate the export via the Broadcasting Procedure actions which allow more flexibility in performing Procedure actions before the export execution.
Configuring a Send To job
A configuration wizard guides users through the creation of each new Send To job.

The sequence is the following:
Name
Enter the name of the new "Send To" action.Who
Select the user or the list of users that will receive the Presentation. Only users that have an email address associated with their user account are available on this list.What
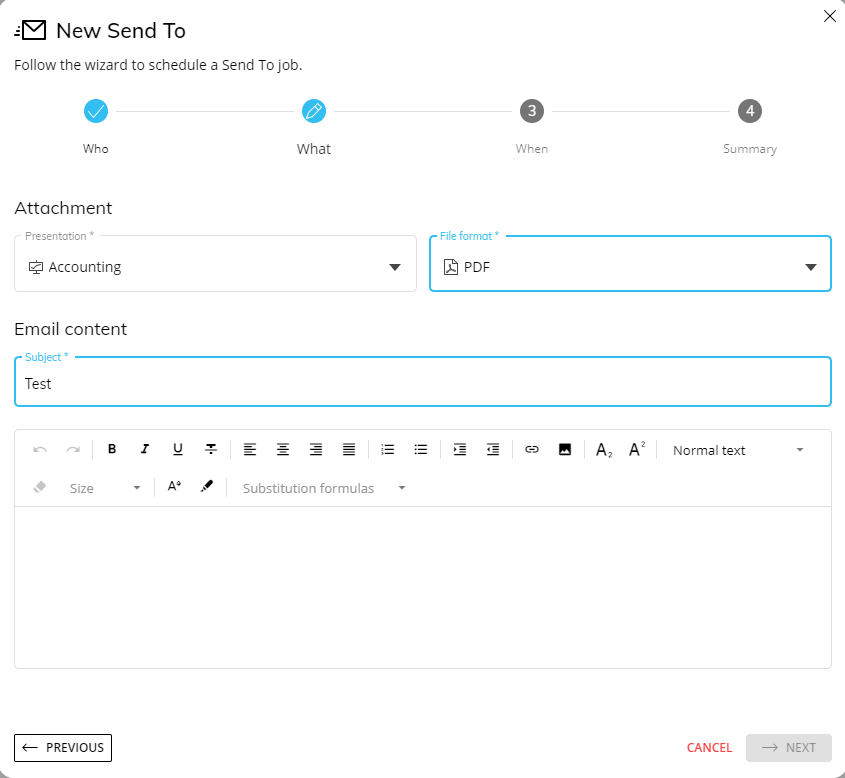
Define the subject of the email, select the Presentation that will be sent as an attachment, choose its format (PDF, MS Word, MS Excel, MS PowerPoint), and write the email body.When
Adjust the scheduling options for the mailing service, sending frequency and start time. Based on the chosen frequency, additional settings appear.Summary
The last step of the configuration wizard displays a summary of the user’s choices. Click on "SAVE" to end the configuration and save the job.
Every newly created Send To job is enabled by default. See the previous paragraph for more details.