To associate or detach a Mask with one or more Screens, you must access a Capsule in Design Mode. You can do this directly from your opened Screen or in the Masks page from the "Masks options" panel on the left of the Screen under the Resources tab.
Associate a Mask
There are 3 ways to associate a Mask with a Screen:
During the creation of a new Screen In the "Create Screen" popup window, select an existing Mask from the dropdown menu.
From the Screen Properties panel to the right of the Screen:
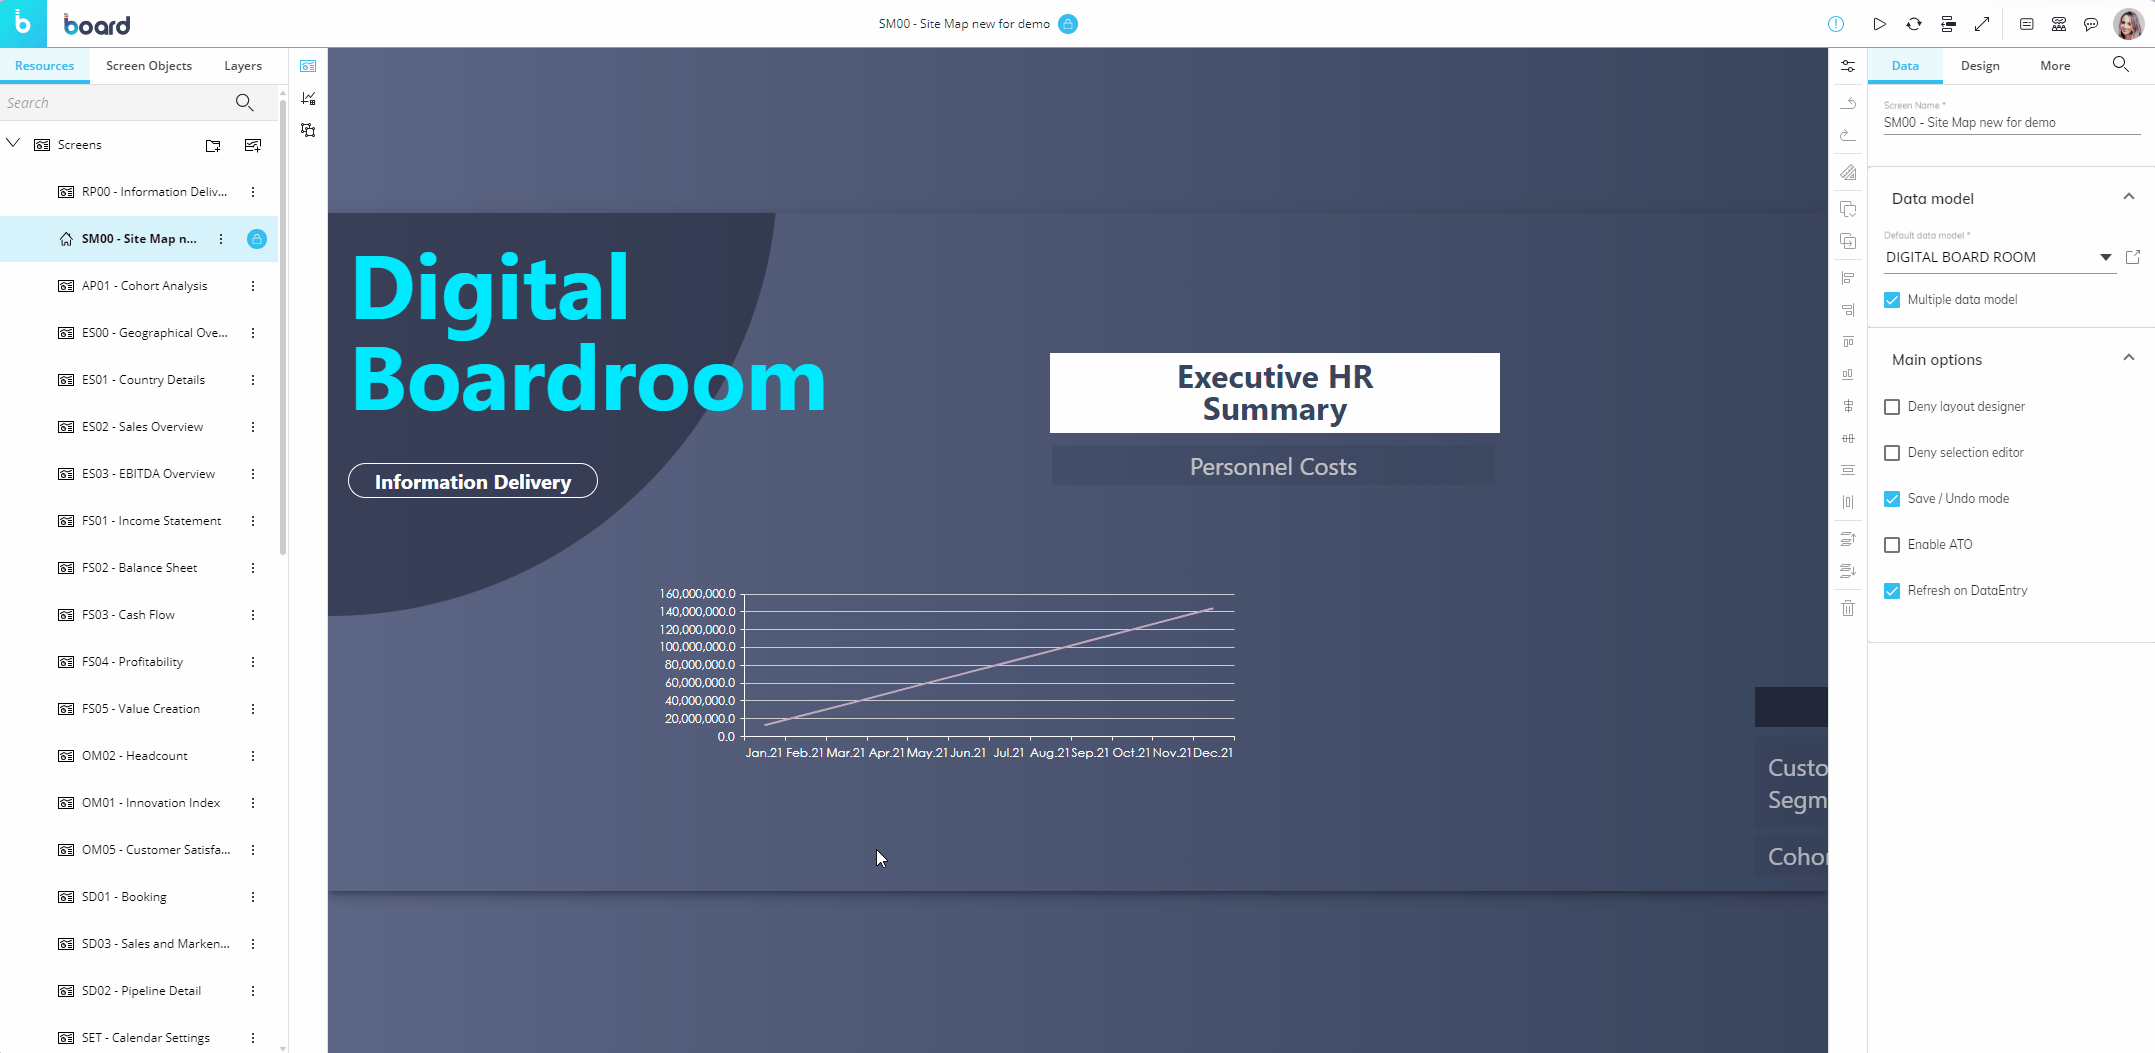
In the Screen Properties panel, open the "Design" tab.
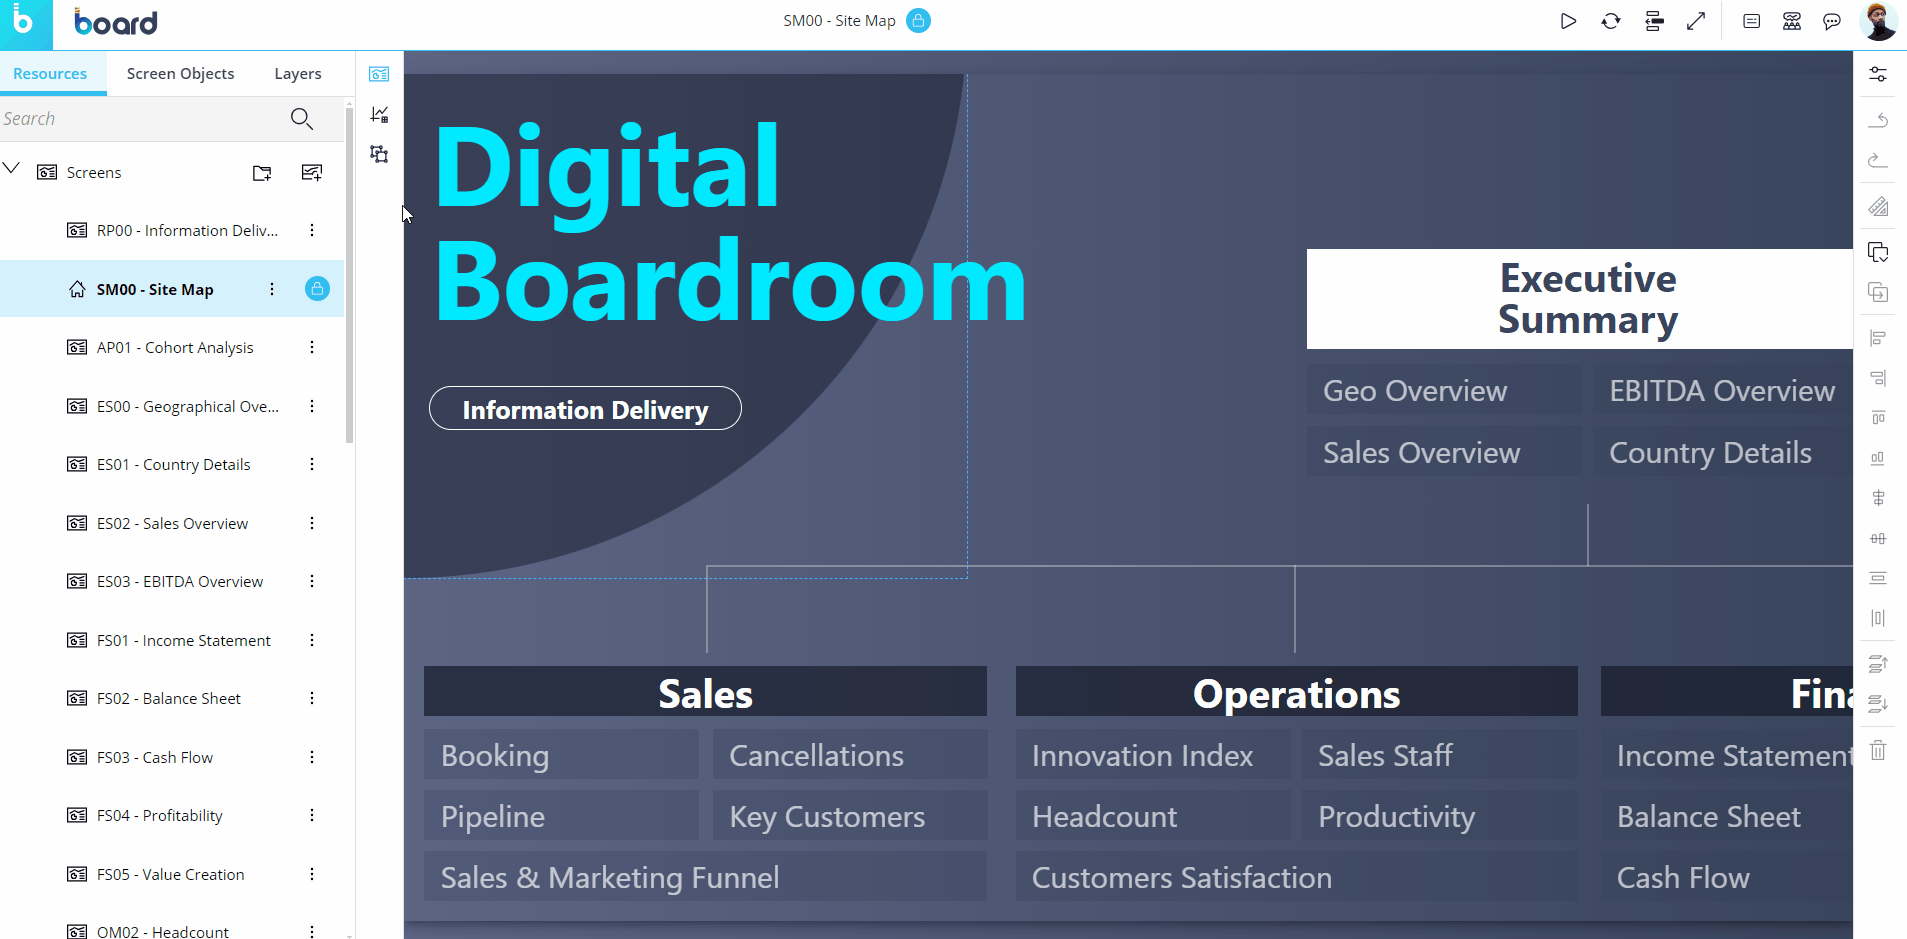
Select the Mask you want to associate the currently opened Screen to from the "Screen Mask" dropdown menu located at the bottom of the panel.
The Mask will be applied right away and appear in the Mask summary table.
From the Mask options panel in the Masks page:
In the left panel, click on the configure icon
 to the right of the "Masks" root folder to access the Masks page.
Select an existing Mask or Screen, depending on the table view (which is interchangeable). This automatically saves the association.
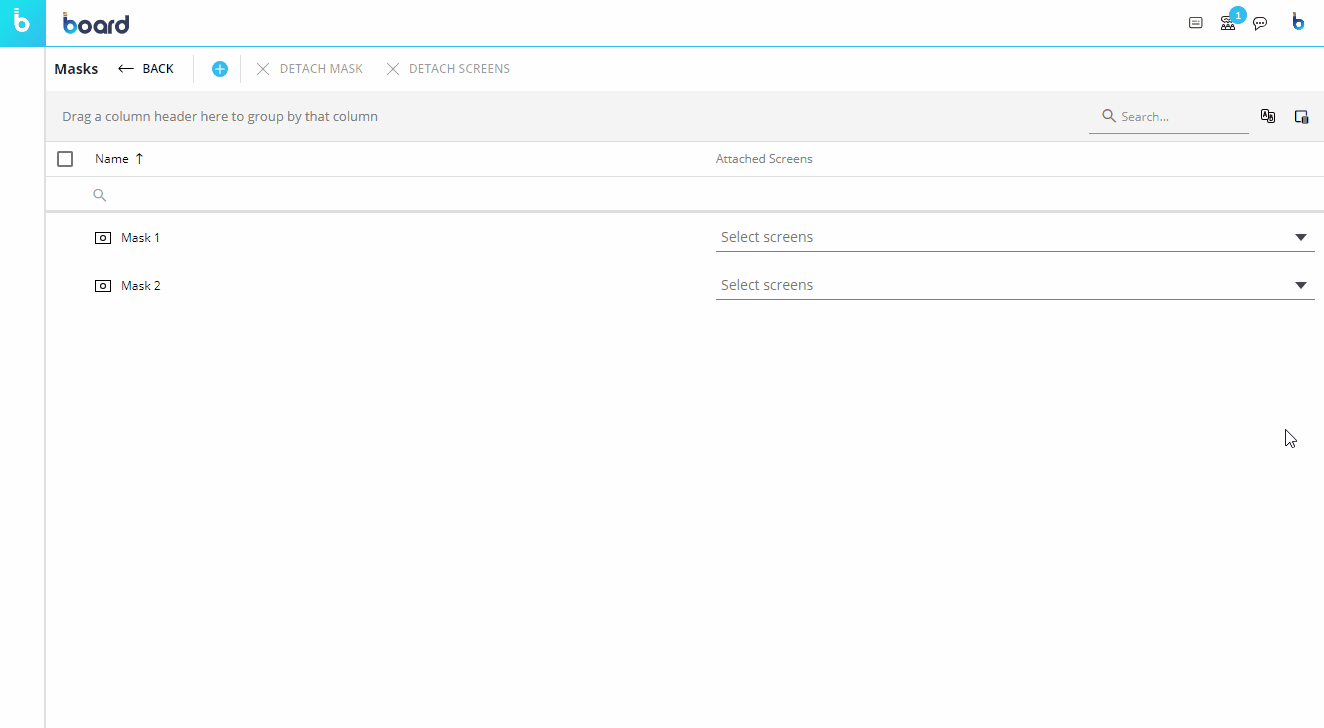
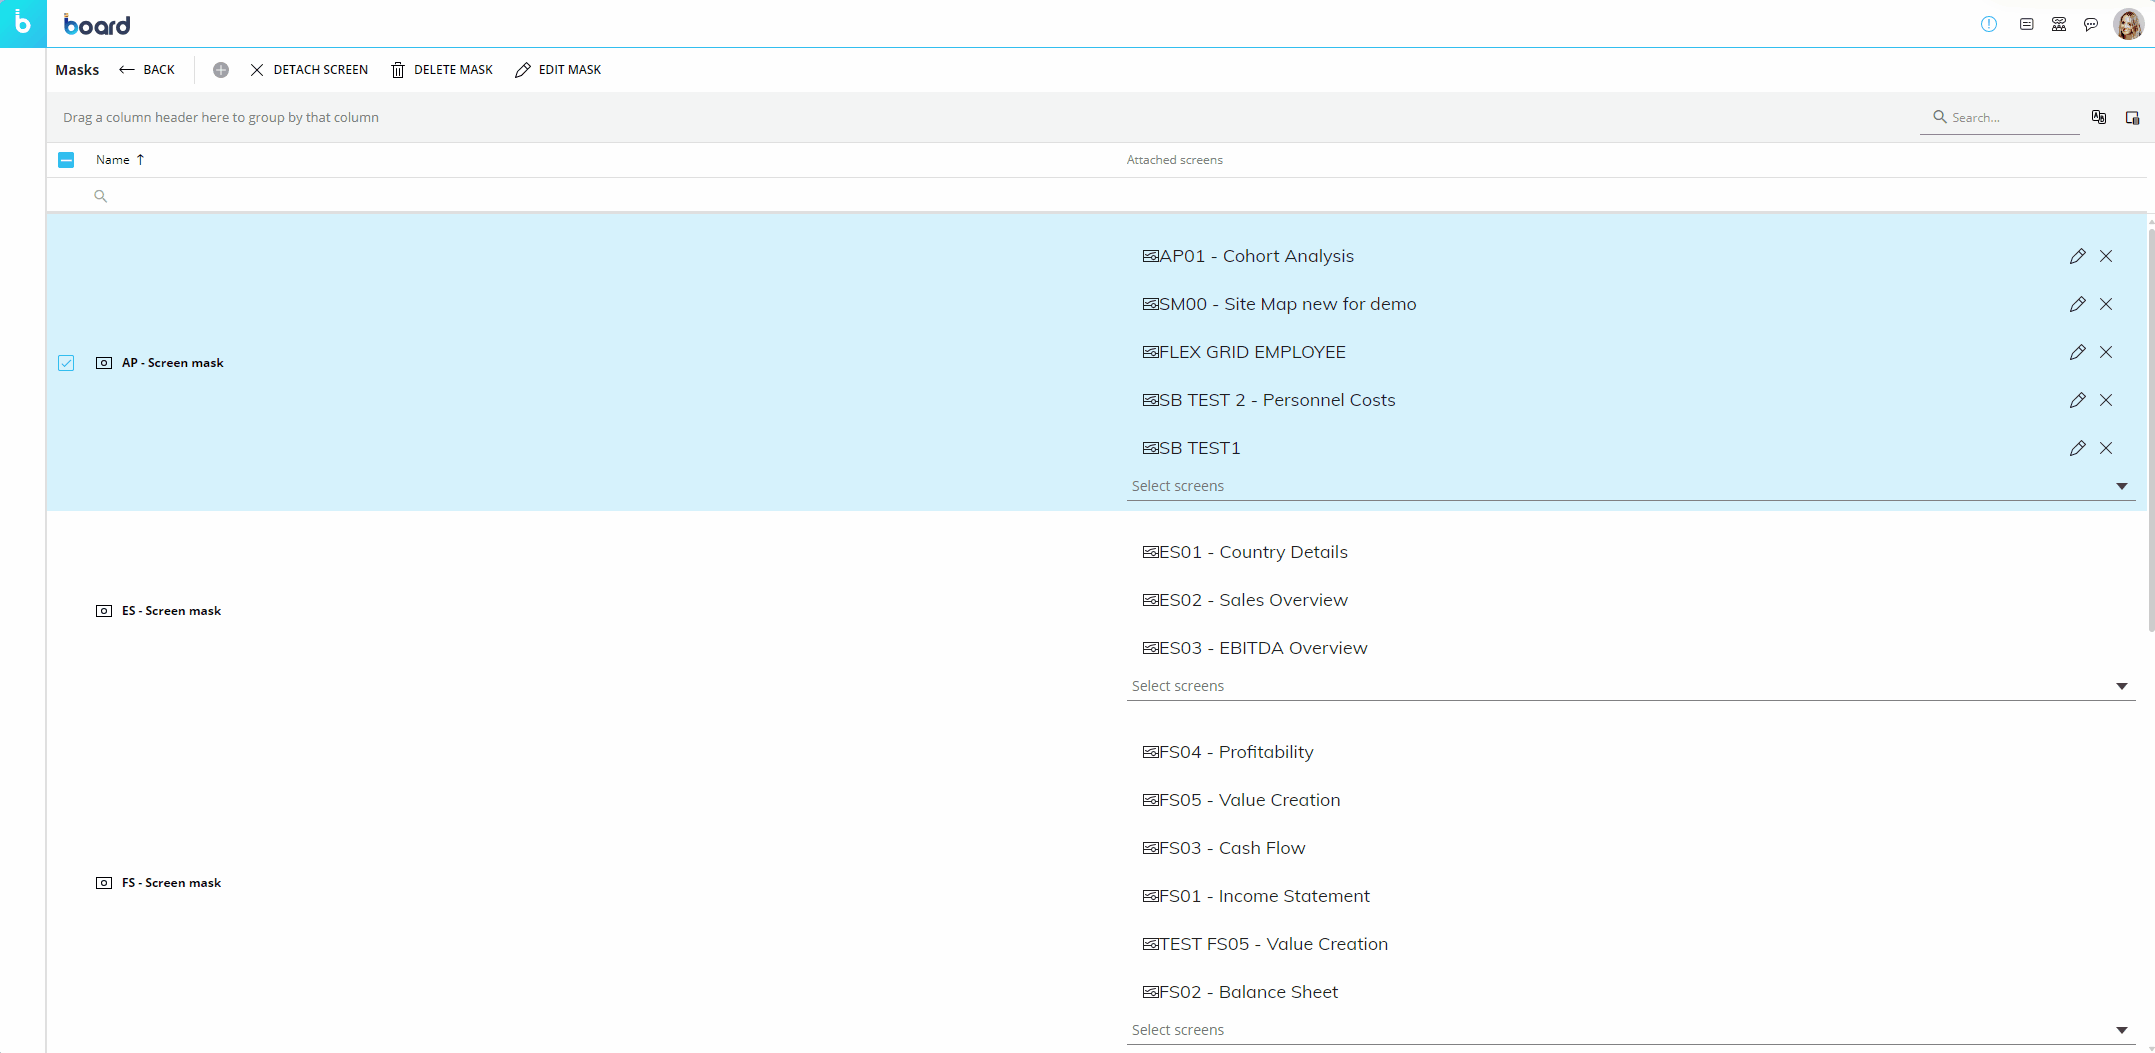
When viewing the Mask list under the "Name" column, go to the "Attached Screens" column and select a Screen from the "Select Screens" dropdown menu in which you want to associate a mask.
When viewing the Screen list under the "Name" column, go to the Mask column and select a Mask from the "Select Mask" dropdown menu.
You cannot associate the same Screen to more than one Mask, but you can associate the same Mask to more than one Screen. You can only associate one Mask to one Screen when the table is organized by Mask in the "Name" column. Each Mask is listed in the "Name" column, and you can only associate one Screen to each Mask. To associate multiple Screens to the same Mask, you can change the view of the Mask table by clicking the "A/B" button in the upper right corner. This reorganizes the table and every Screen is listed in the "Name" column for which you can associate a Mask to each one.
You will see all of the Screens that your Mask is associated with in the summary table: by clicking on the pencil icon next to each listed Screen name, you will open that Screen in Design Mode.
The table is sortable and searchable using the interactive header fields. You can also switch the column positions of "Name" and "Attached Screens" by clicking the "A/B" button in the upper right corner (next to the Column chooser) in order to customize how you view the table, either by Masks associated with Screens (column headers: Name and Associated Screens), or by Screens associated with a Mask (column headers: Name and Mask). You can also hide unnecessary columns by clicking the Column chooser button in the upper-right corner of the table.
When a Mask is associated with a Screen, the following Screen design features are automatically disabled:
Fit mode
Colors
Environment background
Detach a Mask
To detach a Mask, you must access the Mask page. Depending on which Mask table view you've selected, you can either detach a Mask from a Screen or detach a Screen from a Mask.
To access the Mask page, go to the left panel under the Resources tab and click on the configure icon  to the right of the "Masks" root folder.
To detach a Mask from a Screen:
Select one or more existing Masks.
Click the "DETACH MASK" button in the top left corner of the page or the "X" icon that appears next to each Screen in the "Attached Screen" column.
To detach multiple Screens associated with a Mask at once, select all the Screens you want to detach and click the "DETACH MASK" button.
The "DETACH MASK" button will appear when at least one Mask is selected.
To detach individual Screens, use the "X" icon next to each Screen associated with a Mask: this button will appear when one or more Masks are selected or by hovering over a Mask row.
The changes are instantly made and reflected in the summary table.
To detach a Screen from a Mask:
Select one or more existing Screens.
Click the "DETACH SCREENS" button in the top left corner of the page or the X icon that appears next to each Mask associated with a Screen in the "Mask" column.
To detach multiple Masks associated with a Screen at once, select all the Masks you want to detach and click the "DETACH SCREEN" button.
The "DETACH SCREEN" button will appear when at least one Screen is selected.
To detach individual Masks, use the "X" icon next to each Mask associated with a Screen: this button will appear when one or more Screens are selected or by hovering over a Screen row.
The changes are instantly made and reflected in the summary table.
Switching the Mask table view
You can switch the Mask table view by clicking the "A/B" icon ![]() in the upper right corner of the table between the search bar and the "Column chooser" icon.
in the upper right corner of the table between the search bar and the "Column chooser" icon.
You can switch the view two ways:
Mask list view. See all Masks available under the first column, "Name", and associate one Screen to one Mask from the second column, "Attached Screens".
You can only associate one Screen to each Mask in this view. To associate multiple Screens to a Mask, use the Screen list view described below.
Screen list view. See all Screens in your Capsule listed under the first column, "Name", and associate a Mask with a Screen from the second column, "Mask".
You cannot associate more than one Mask to a single Screen, regardless of the table view.